Pine vs Oak: Which Wood is Best for Your Home Improvement Project?
Renovating a living space? Or are your existing ceilings in need of a makeover? Now might be a perfect time to consider installing shiplap.
Shiplap has been around for a long time (like, centuries long) and is perfectly suited for transforming blank ceilings into one-of-a-kind designs. But how easy is it to install? Can DIYers get a professional shiplap ceiling without spending a fortune?
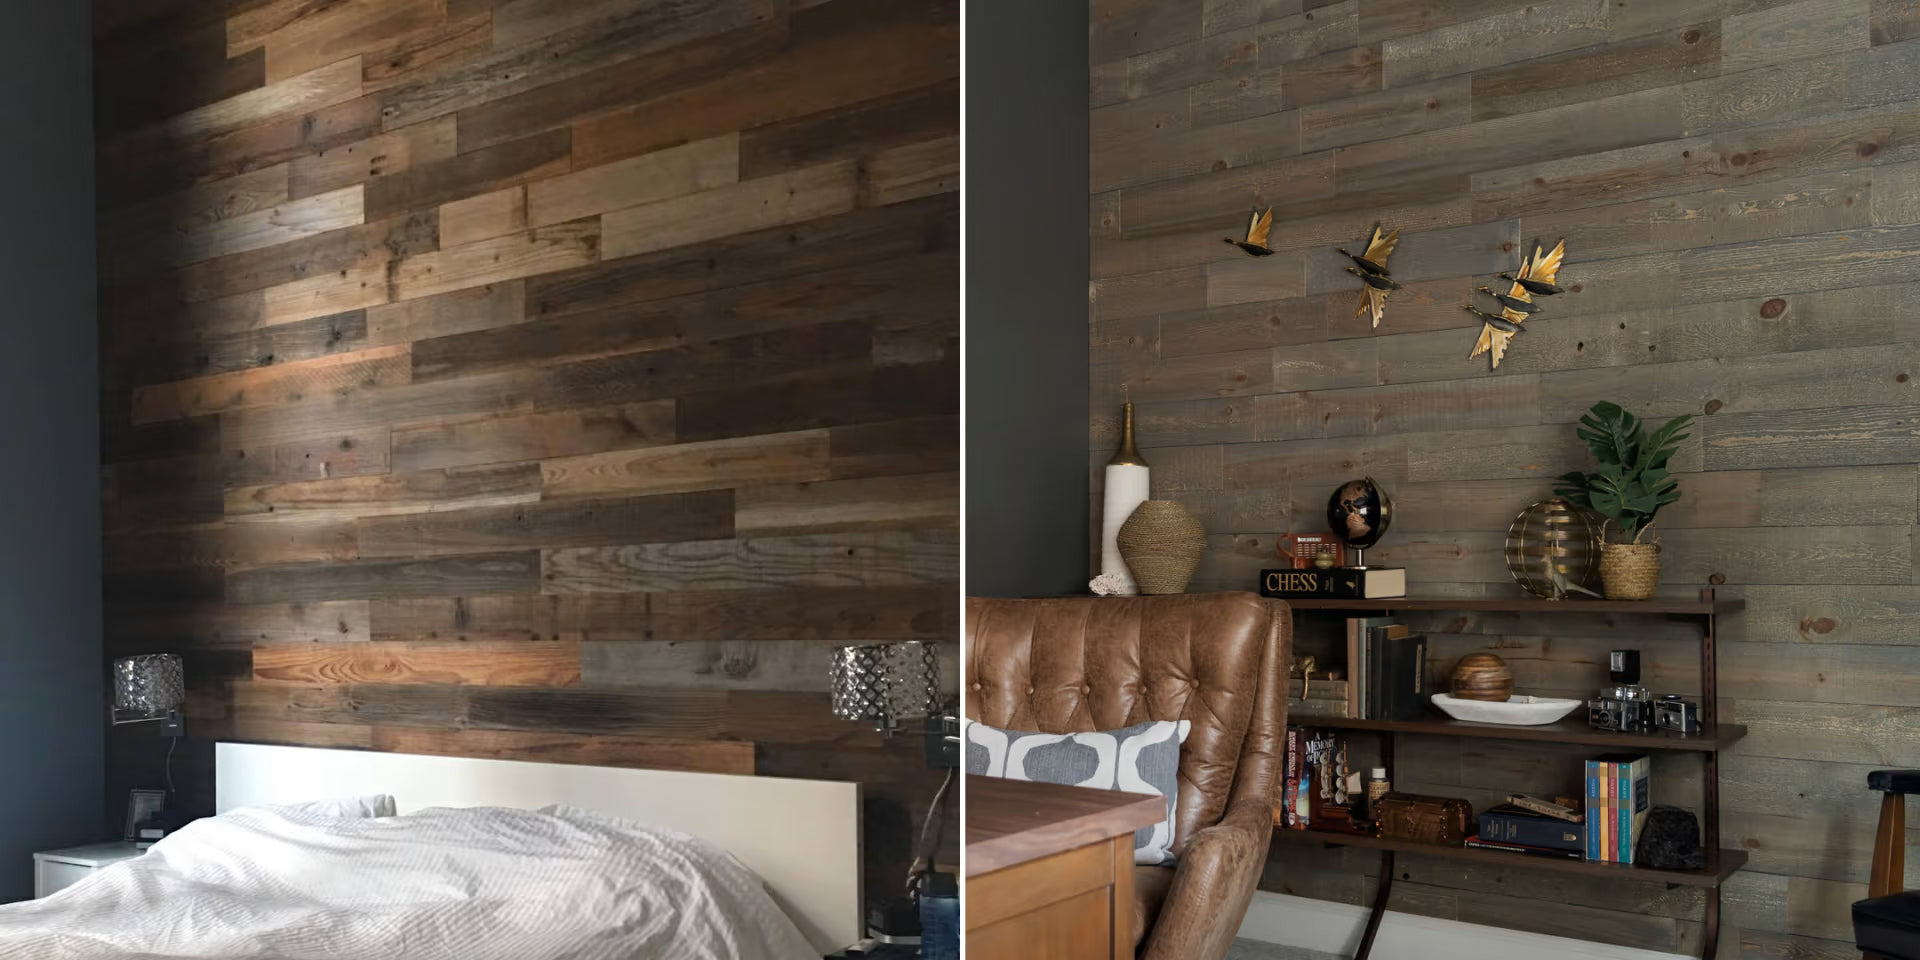
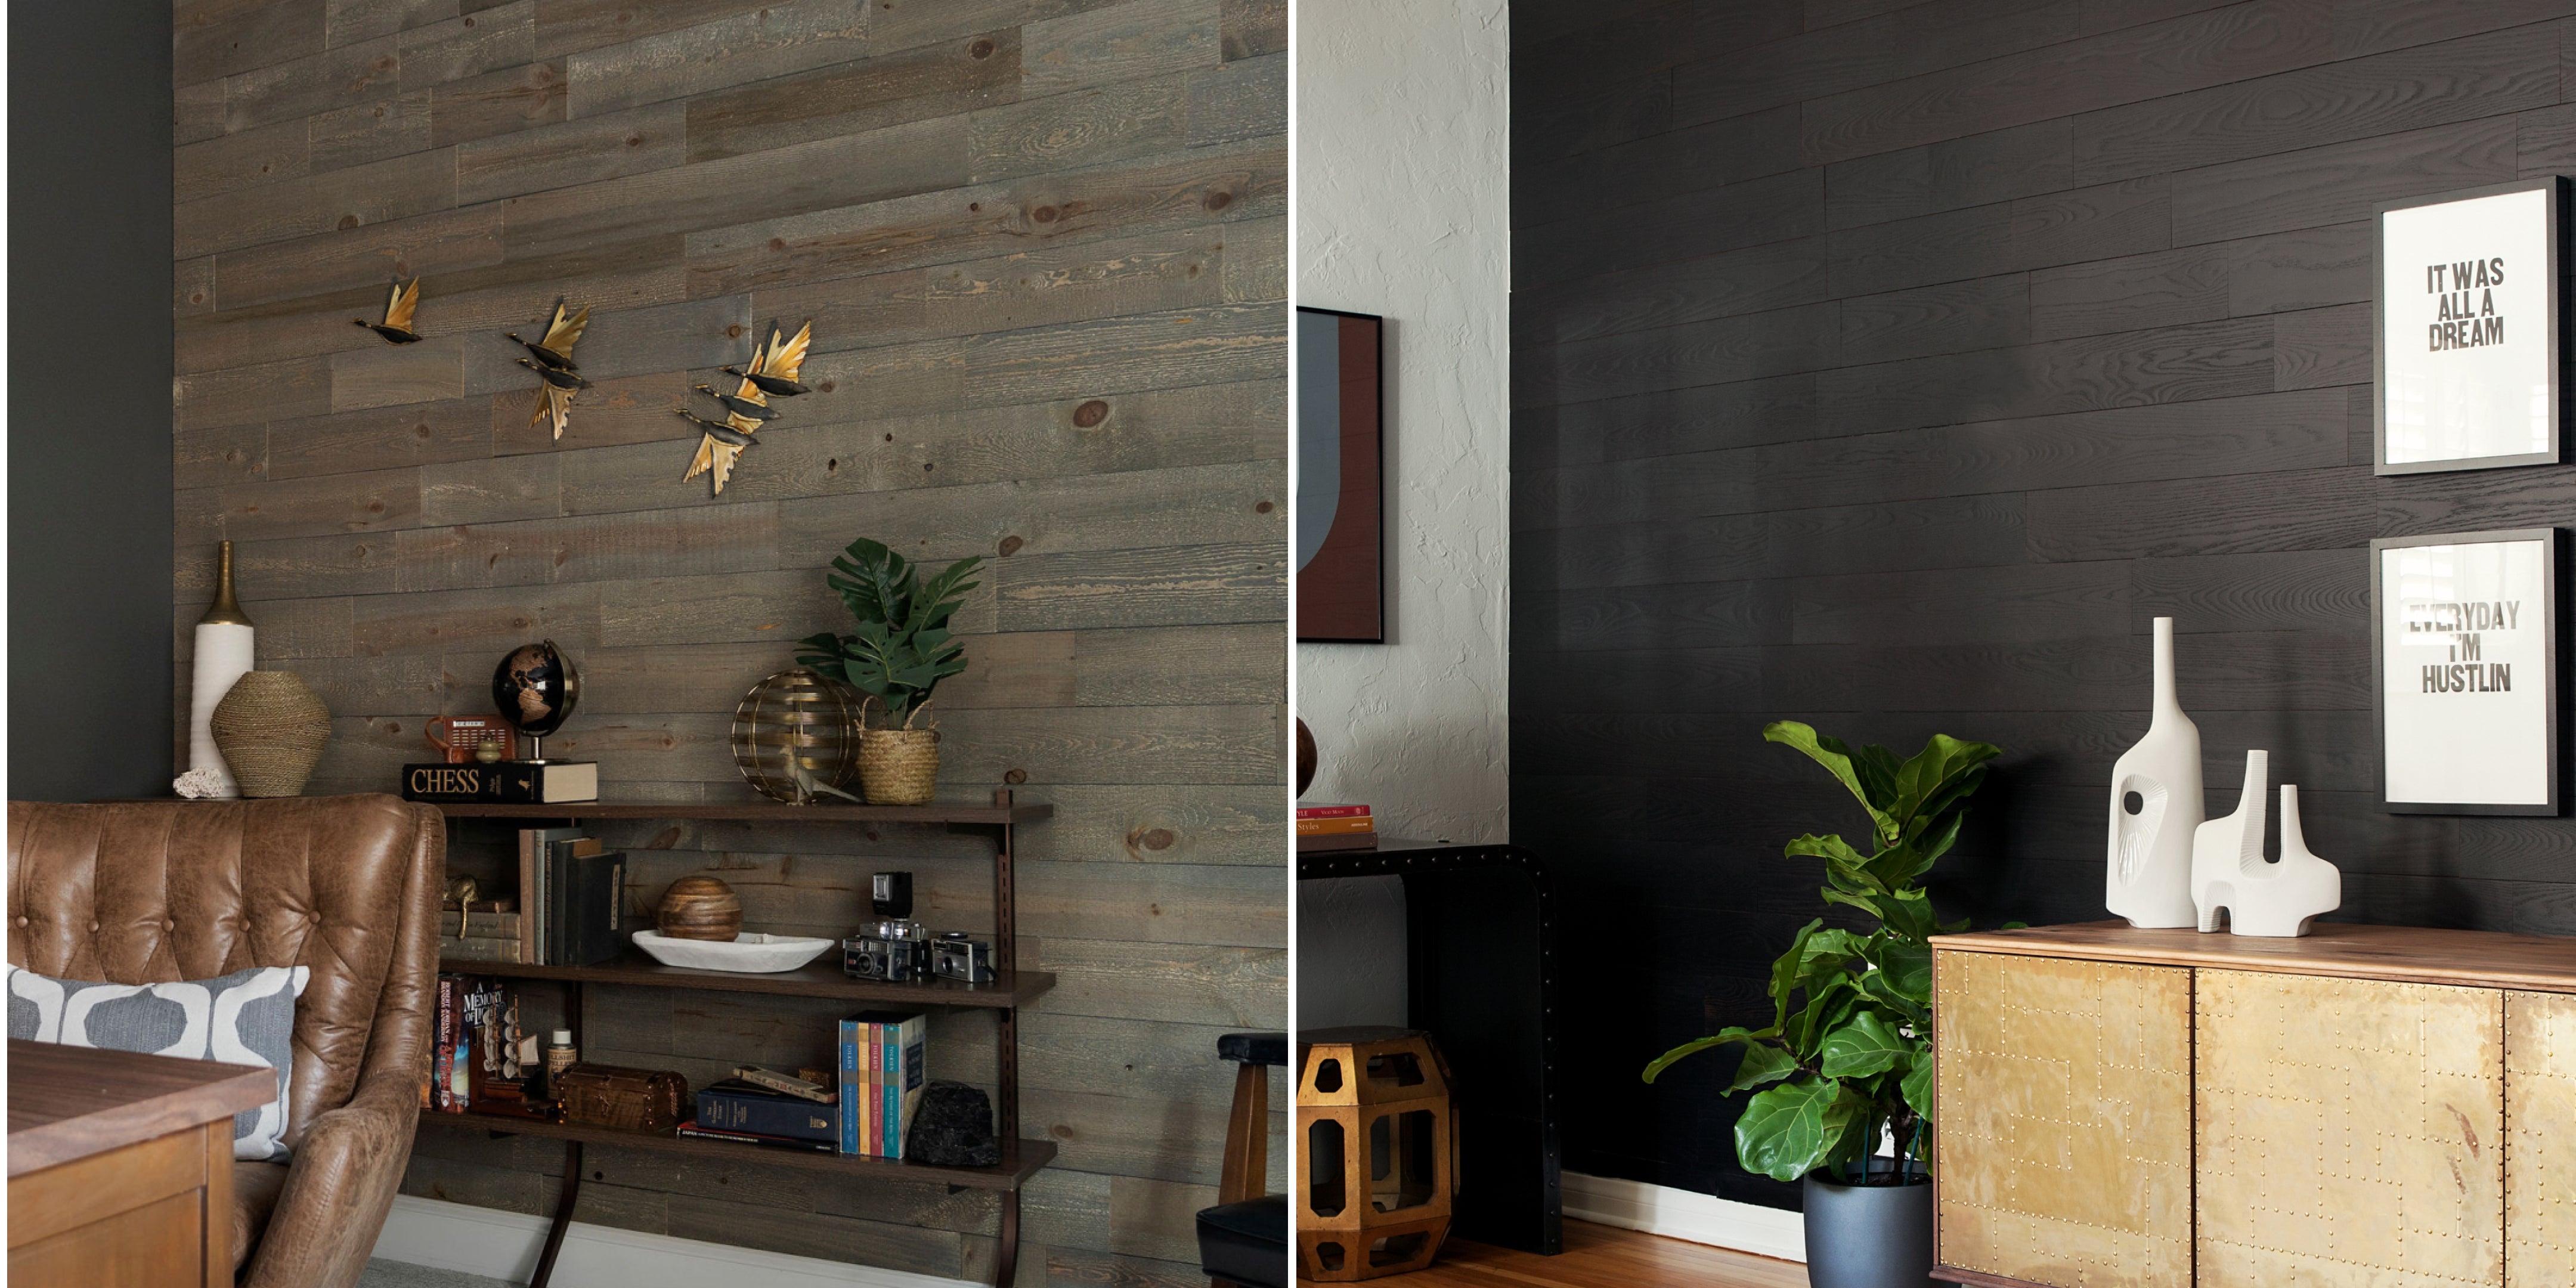
Installing shiplap boards on walls is a great way to add a bit of rustic charm to any living space. In today’s world of interior design, though, walls aren’t the only thing being covered in this centuries-old style.
Shiplap ceilings are continuing to grow in popularity, as more homeowners fall in love with their unique texture and aesthetic.
You may be familiar with shiplap from popular home renovation shows like Fixer Upper, where Chip and Joanna Gaines often use this material for farmhouse chic. But what exactly is shiplap?
Traditionally speaking, shiplap boards are wooden planks that fit together via rabbet joints on their edges – leaving consistent gaps between boards. The beauty of installing shiplap on your ceiling doesn’t just come from aesthetics, either. And it doesn’t matter if you’re a professional or DIYer. Installing shiplap is simple.
When it comes to choosing shiplap planks, your options are virtually endless.
Here are a few tips to keep in mind when selecting shiplap planks.
Installing a shiplap ceiling starts with gathering the right tools. A quality ladder, for instance, is crucial for reaching those high spots safely.
The type of shiplap boards you choose can make or break your project. Some prefer standard shiplap while others opt for nickel gap shiplap which offers a distinct look because of its unique spacing.
You'll probably need an electric miter saw to cut board lengths accurately, and either an electric or air nailer to secure the boards in place. The use of nails ensures that your boards stay firm on the ceiling without visible holes disrupting their beauty.
There’s no question: Shiplap ceilings can completely transform your space. That being said, it’s crucial to understand the costs involved with shiplap installation. It’s not just about the materials. Time, tools, and labor can quickly add up.
If DIY isn’t really your thing and you plan on hiring professionals to install your shiplap ceilings, prices can vary dramatically. Spending $11+ per square foot of installed shiplap isn’t uncommon depending on location and availability.
Why might hiring professionals cost so much more?
A well-planned budget is key for preventing surprises down the road. And while shiplap ceilings may seem more expensive than standard drywall ceilings at first glance, the value of a shiplap ceiling in your home can’t be overstated. It’s worth every penny.
Ready to transform your ceiling with shiplap? Let’s talk preparation.
As with any new construction or remodeling project, safety should be prioritized. Grab your protective gear like gloves and safety glasses before work. It might seem minor, but a quick safety check can prevent major accidents.
A good step ladder is also important, particularly when installing shiplap boards on a ceiling. Just remember to maintain three points of contact when climbing up or down. And if you’re working around others, a spotter is crucial.
Finding ceiling joists is an essential part of preparation. Drag a stud finder across the surface of your existing ceiling to locate them accurately (typically 16 inches apart in residential construction).
Once you locate the studs, mark each area clearly using chalk or pencil – you’ll need this later when securing your shiplap boards.
After that, you're almost there. Next comes measuring and planning board placement.
To accurately measure and plan your shiplap ceiling installation, use a tape measure and calculate the square footage of the area you’ll be covering. For example, if you have a room measuring 12-foot by 12-foot, you likely have 144 square feet of ceiling to cover.
Precisely measuring your area before purchasing and installing shiplap ensures you’ll have the right amount of boards without wasting money.
Pro-tip: If you’re planning to install a shiplap ceiling yourself (and have a little wiggle room in your budget), buy a few extra boards. Mistakes happen, and having a backup can save time.
Now that you’ve properly measured the square footage of your ceiling, it’s time to buy your shiplap boards. Typical plank width is anywhere from 5 to 8 inches. And remember, shiplap widths are traditionally measured without including the rabbet joint.
Along with calculating the overall cost of materials and tools you’ll need, planning for appropriate installation time is essential. Anyone who’s tackled a DIY project knows that while there is immense satisfaction in completing it yourself, surprises can throw a wrench in your timeframe.
Proper planning is the best way to ensure smooth sailing during your shiplap ceiling installation. So grab those measurements, block off time in your schedule, and get ready to install.
After grabbing the right amount of boards for your shiplap ceiling, it’s installation time. Attaching the panels can be done either with construction adhesive or a nail gun, depending on your situation. And remember: If recessed lights or other obstacles are part of your plan, be sure to properly mark them before proceeding.
Attaching shiplap panels is pretty straightforward. Simply start at one end of your working area and install boards towards the opposite side, making sure each piece fits snugly against its neighbor. Stikwood offers some nice inspiration if you’re looking for style ideas.
Pro-tip: Keep your nail holes spaced evenly, and apply wood filler afterward for an ultra-clean finish.
Once all the boards are fastened securely to the ceiling (and you’ve double-checked to make sure they aren’t going anywhere), you’re almost done! The ceiling should look seamless, with perfectly overlapping boards.
If you’re leaving your shiplap ceiling natural, that’s it. Reinstall any light fixtures and enjoy your new shiplap masterpiece. If you were planning on painting post-installation, now’s the time!
If you’re installing shiplap on your ceiling, chances are you’ll encounter a few obstacles along the way. This is especially true if your living space uses recessed lights or ceiling beams. But don’t worry! With some clever tips and the right tools, you’ll have no problem navigating these obstacles.
When it comes to dealing with recessed light fixtures, precision is vital. Start by marking the position of each fixture on your shiplap board before carefully cutting out holes for them using a hole saw or jigsaw.
Once you’ve measured and properly accounted for the light fixture, attaching a shiplap board is no different than usual. Secure it with construction adhesive or nails, make sure there won’t be any unsightly gaps around the light, and you’re good to go.
Locating ceiling studs is crucial, since they provide extra support for your shiplap boards. But finding them can be tricky if they’re hidden behind drywall. In these cases, a stud finder will be your best bet. When used correctly, you should be able to easily locate studs without damaging your existing ceiling.
Anyone who’s tackled a home improvement project knows that, even with the best of intentions, mistakes happen. Not leaving a nickel gap between the shiplap panels during installation might seem insignificant, but could lead to problems down the line – like warping due to changes in humidity.
To avoid common mishaps, make sure to follow manufacturer guidelines carefully while installing your ceiling planks. Patiently installing shiplap is just as important as having quality materials and the right tools.
Your shiplap ceiling is up, but if paint is in your plan, we're not quite done. To give your shiplap ceiling the professional finish you've been aiming for, it's time to add the finishing touches.
A fresh coat of paint can take your project from "good" to "wow." White shiplap is a classic choice. It reflects light beautifully and adds a crisp freshness to any room. So grab your favorite shade of white (or dare to be bold with color) and get painting!
First, make sure all nail holes are filled with wood filler for an even surface. Once dry, sand down until smooth. This ensures that your ceiling won’t have any bumps or uneven areas.
The final step in creating our stunning ceiling involves applying two coats of high-quality paint using either a brush or roller depending on personal preference. Let each layer fully dry before starting another one. As with any other step in your shiplap installation, patience is key.
Installing shiplap on a ceiling is doable with some DIY experience. It just requires careful planning, accurate measurements, and patience.
Absolutely. You can attach the shiplap directly to the joists or furring strips, bypassing the need for drywall altogether. Use a stud finder for easy attaching.
You should use either 2-inch brad nails or 1-1/4 inch crown staples for attaching your boards securely.
To achieve an authentic look, you should definitely stagger your rows when installing a ship lap board onto ceilings. It’s your living space, and your time to be unique!
Mastering a shiplap ceiling installation might seem like a daunting task at first. But with a little patience, the right tools and a dash of creativity, it’s doable for any DIYer.
Installing shiplap ceilings doesn’t have to break the bank, either. Most shiplap boards can be acquired in the $1 to $7 per square foot range, and the tools aren’t too costly.
Whether you choose to install shiplap yourself or hire a professional to save time and ensure an awesome result, you can be confident you’ll soon have a room you can admire for years.
If you’re looking for an affordable and environmentally conscious way to install shiplap, check out our range of reclaimed wood panels on Stikwood.com. Our peel-and-stick real wood planks make DIY projects effortless.


Your cart is currently empty.
Start Shopping
Introducing our easy-to-use visualizer tool that allows you to see every color and finish of Stikwood on your own walls, with the touch of a button.