
Herringbone Versus Chevron Interior Wood Plank Walls
by Laura Demetrious · October 18, 2021
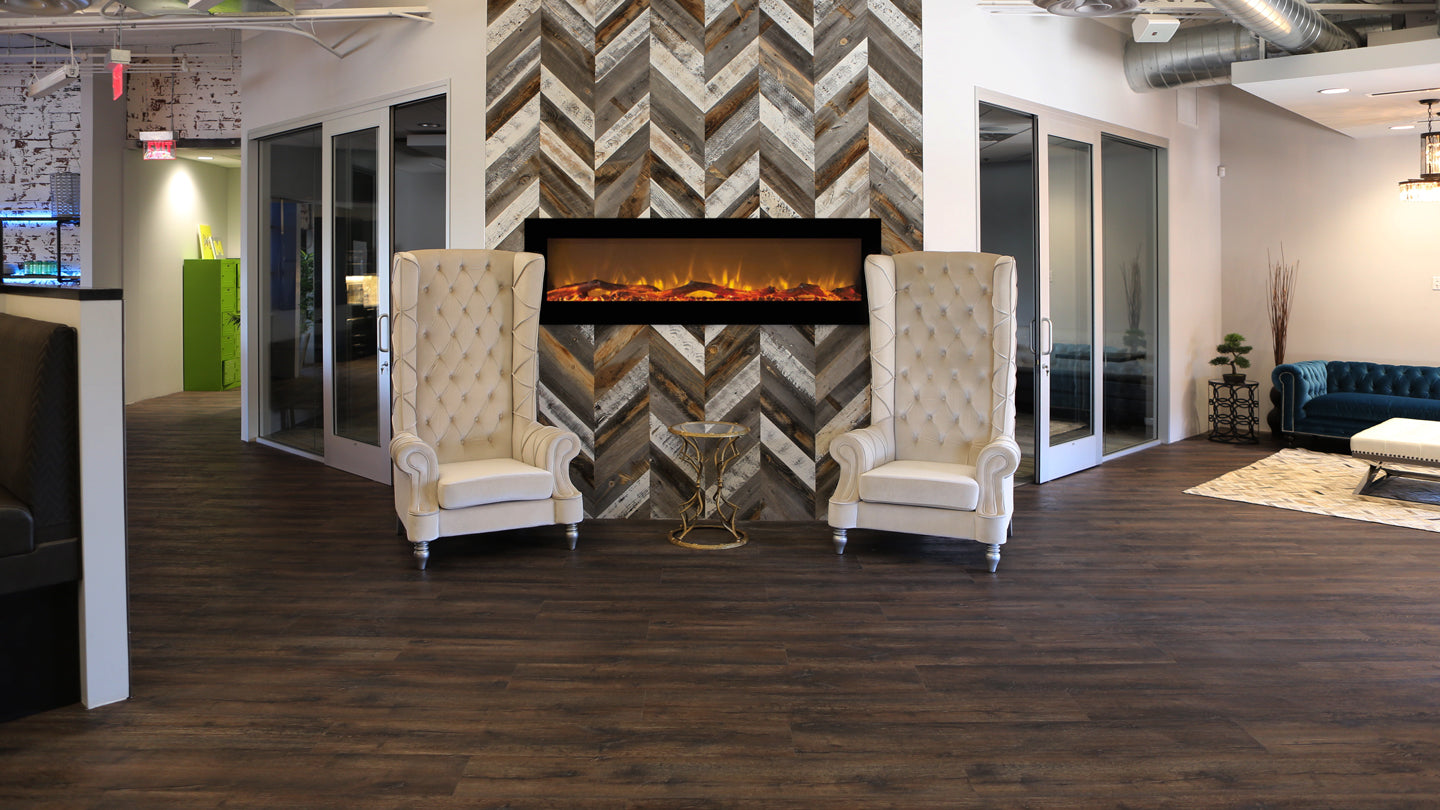
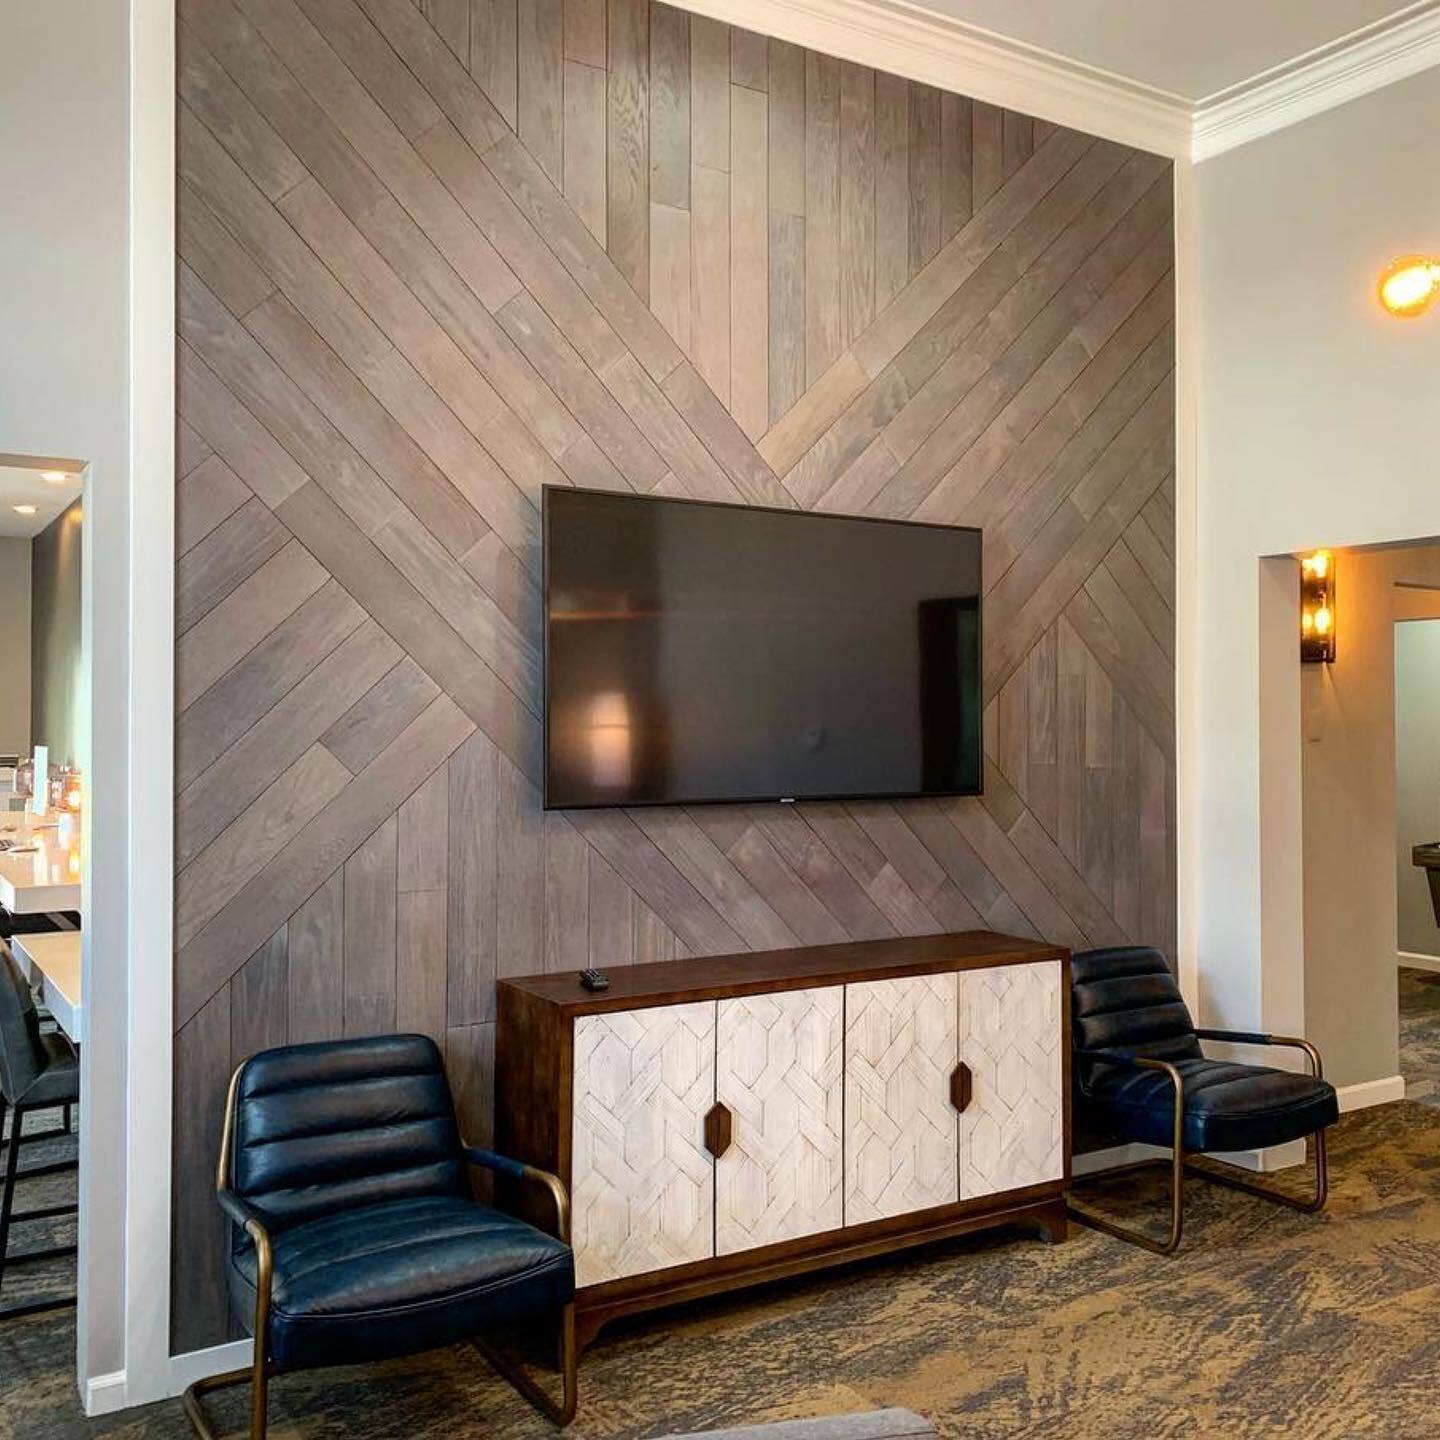
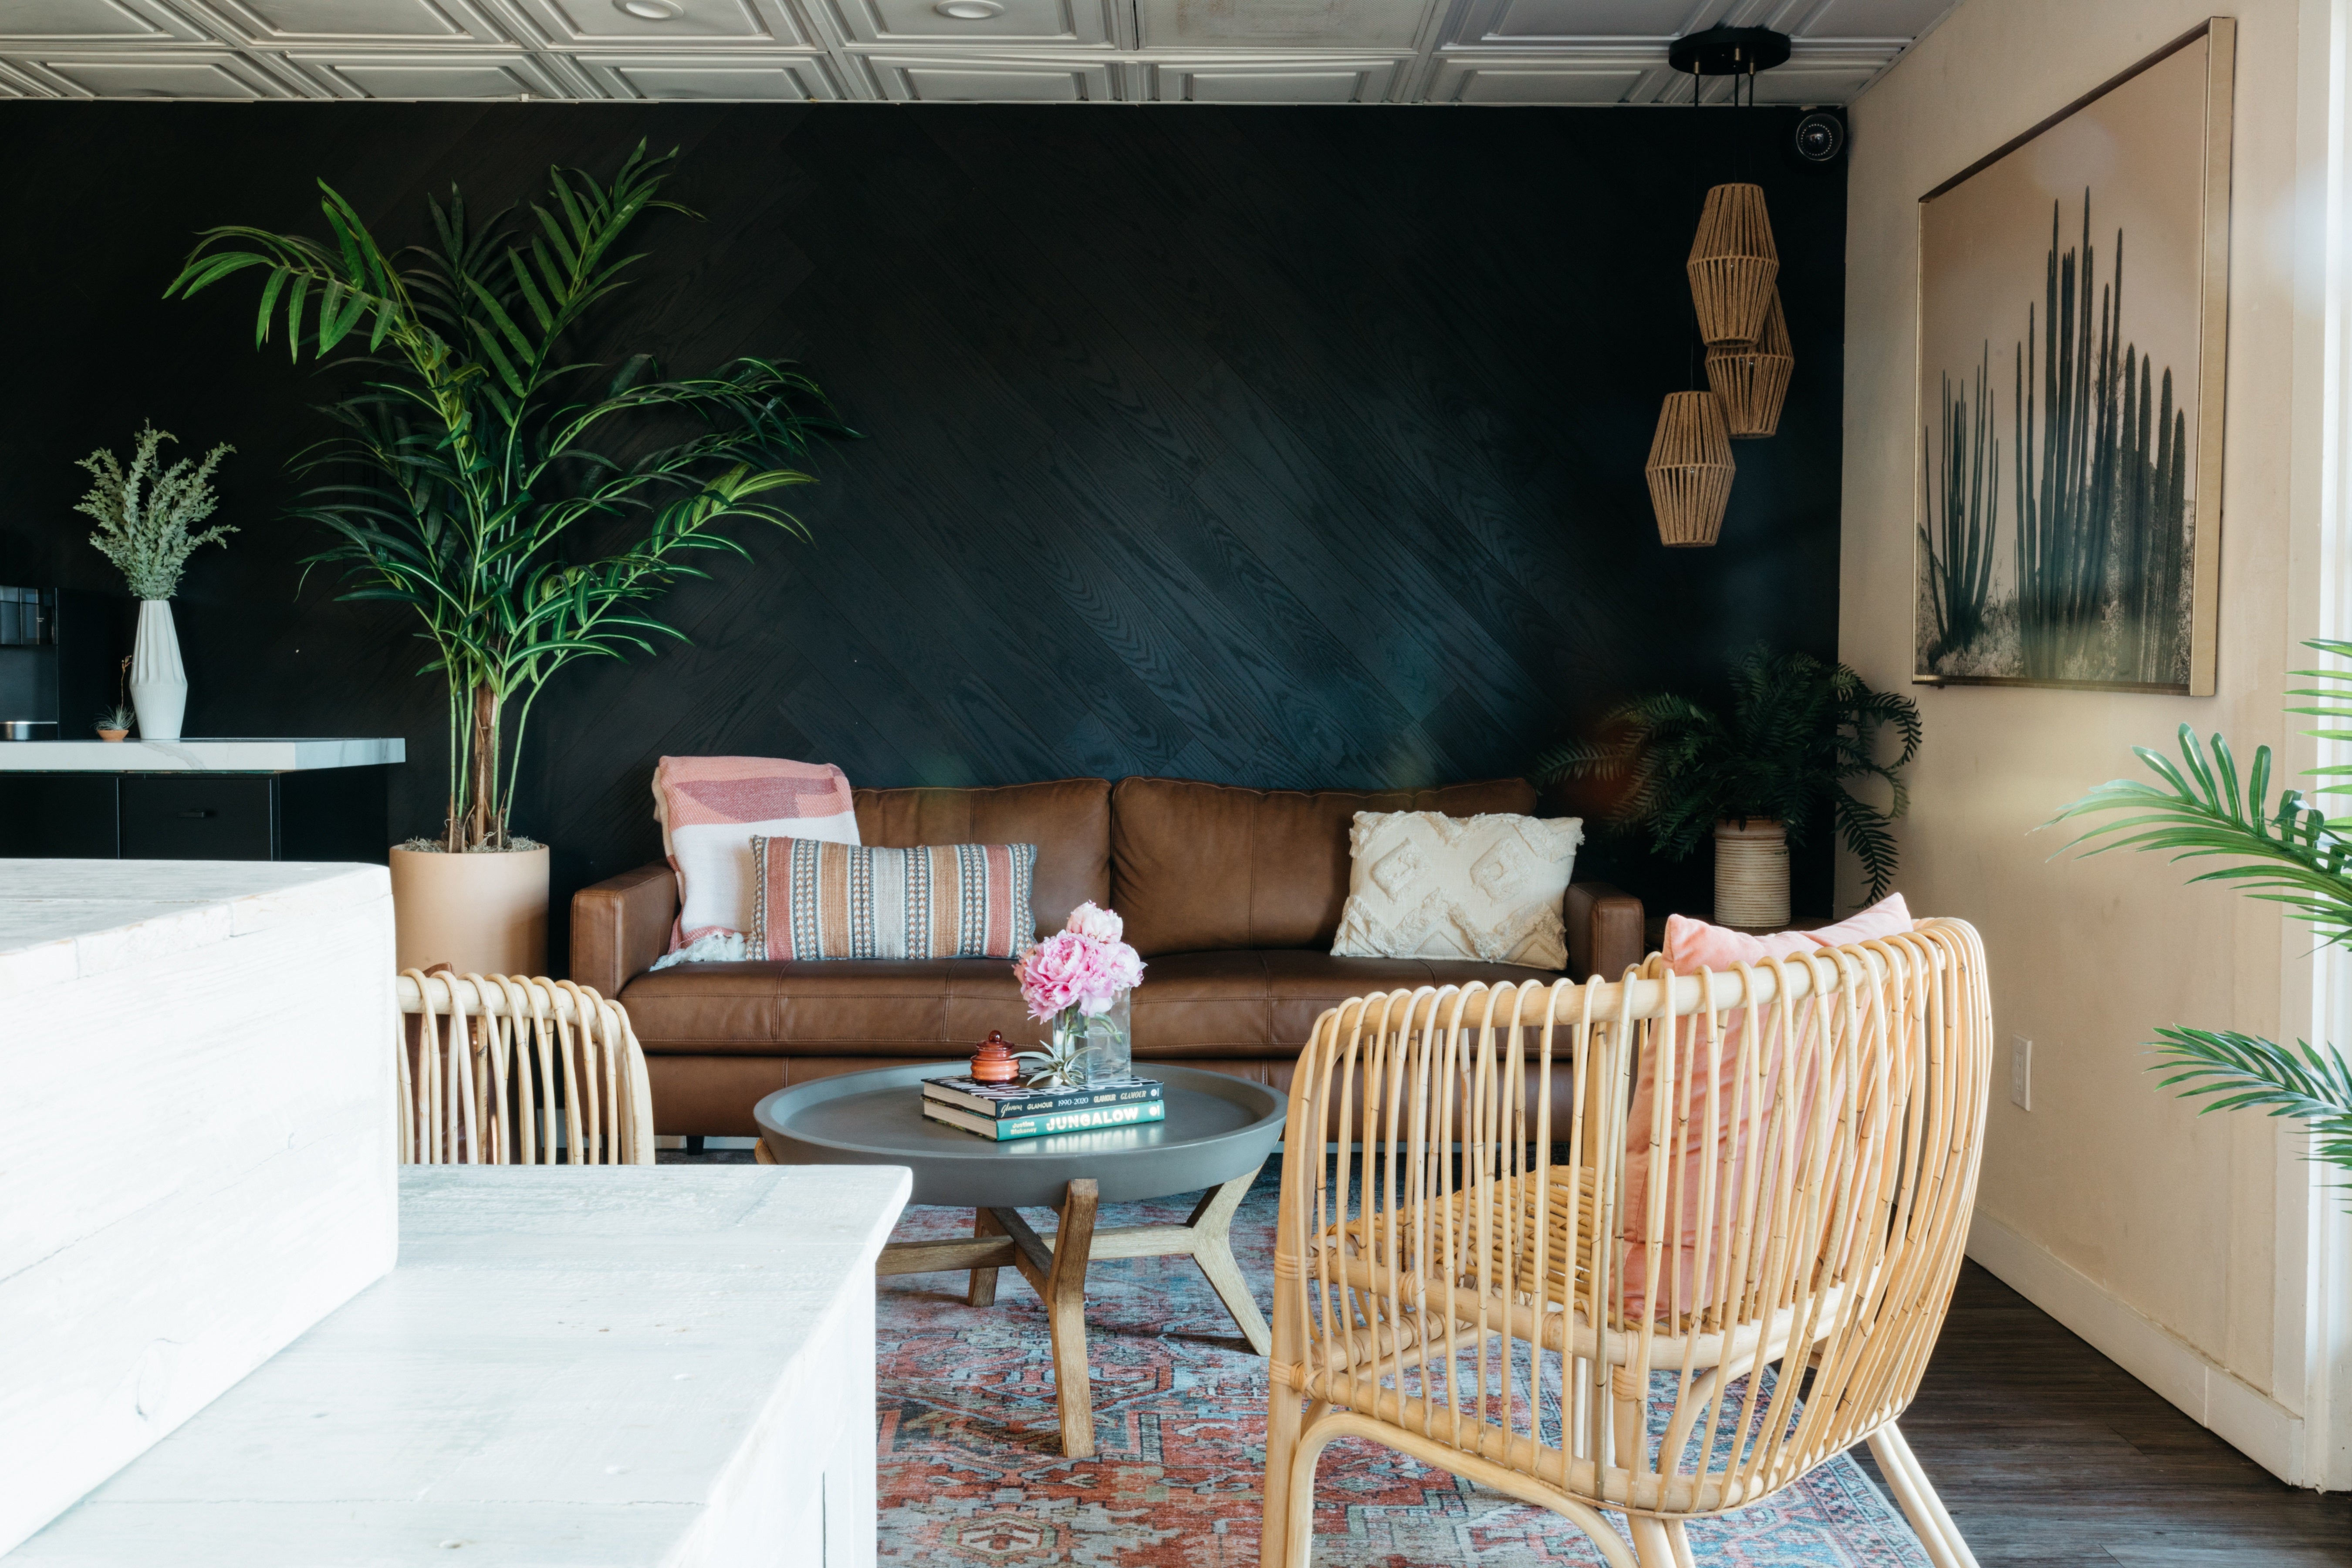
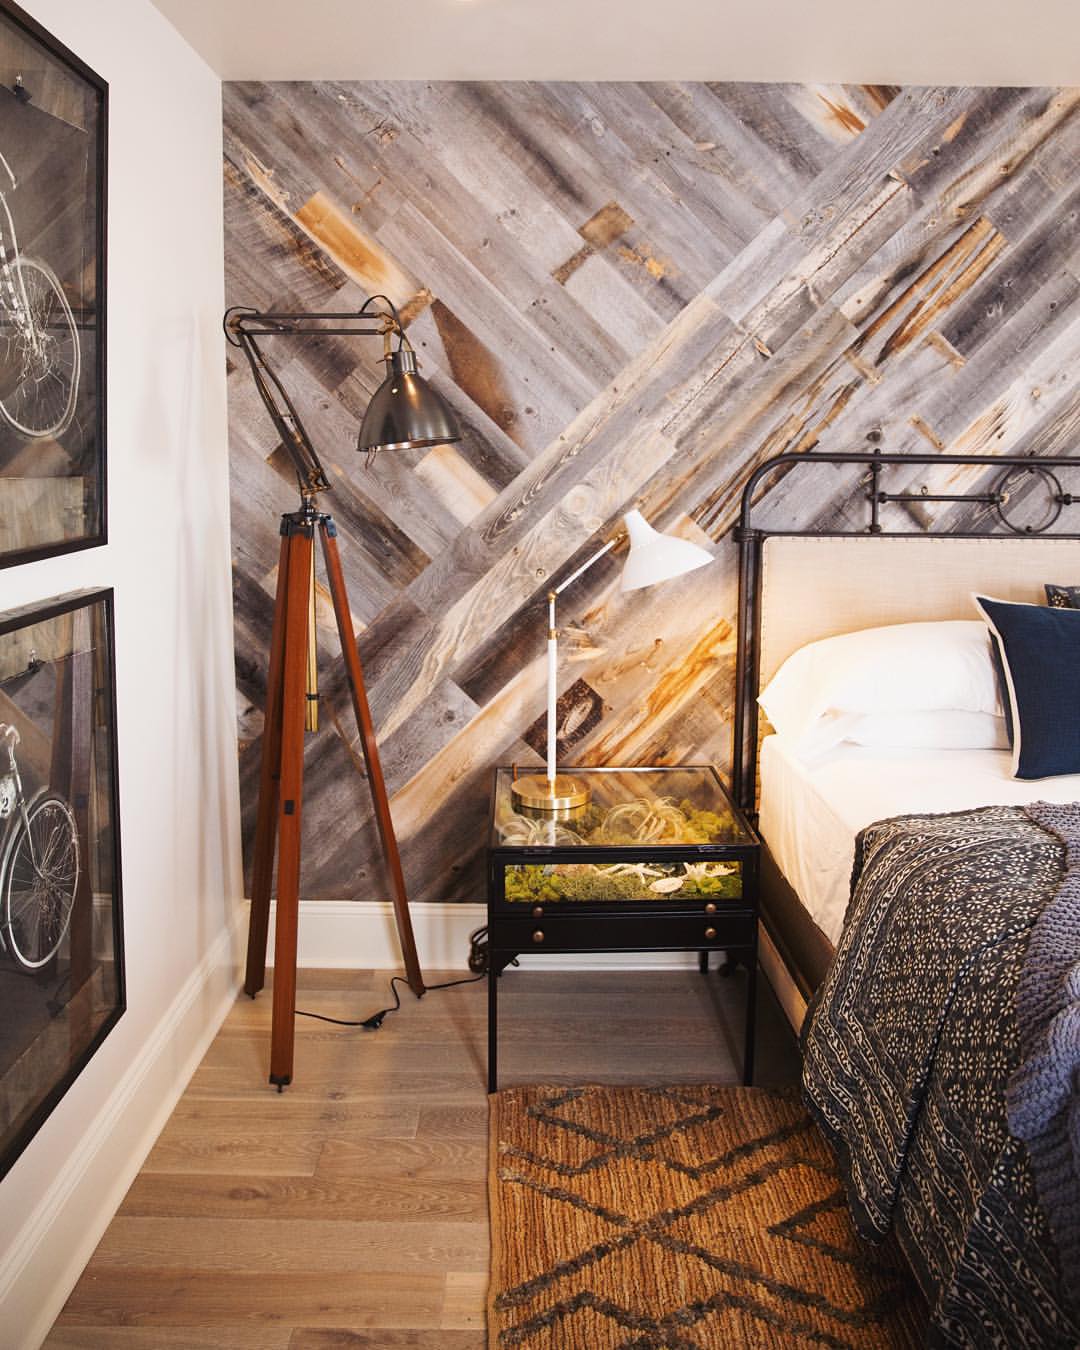
The geometric accent wall isn’t a new concept in home interior design, but it is a popular one. Many homeowners and designers are creating their own take on this sort of design by using painters tape, wainscoting, 2x4’s, and even peel and stick products like Stikwood. Since this is such a hot trend in interior design today, we thought it would be a great opportunity to share with you how to create a geometric accent wall using Stikwood’s peel and stick reclaimed wood planks.
The first rule to creating a geometric accent wall is there are no rules. Okay, maybe there are a few, but when designing a geometric wall in your home you don’t need to follow a certain pattern or measure specific lengths in order to achieve a fun and whimsical aesthetic. You just need to have a general idea of what you want your wall to look like.
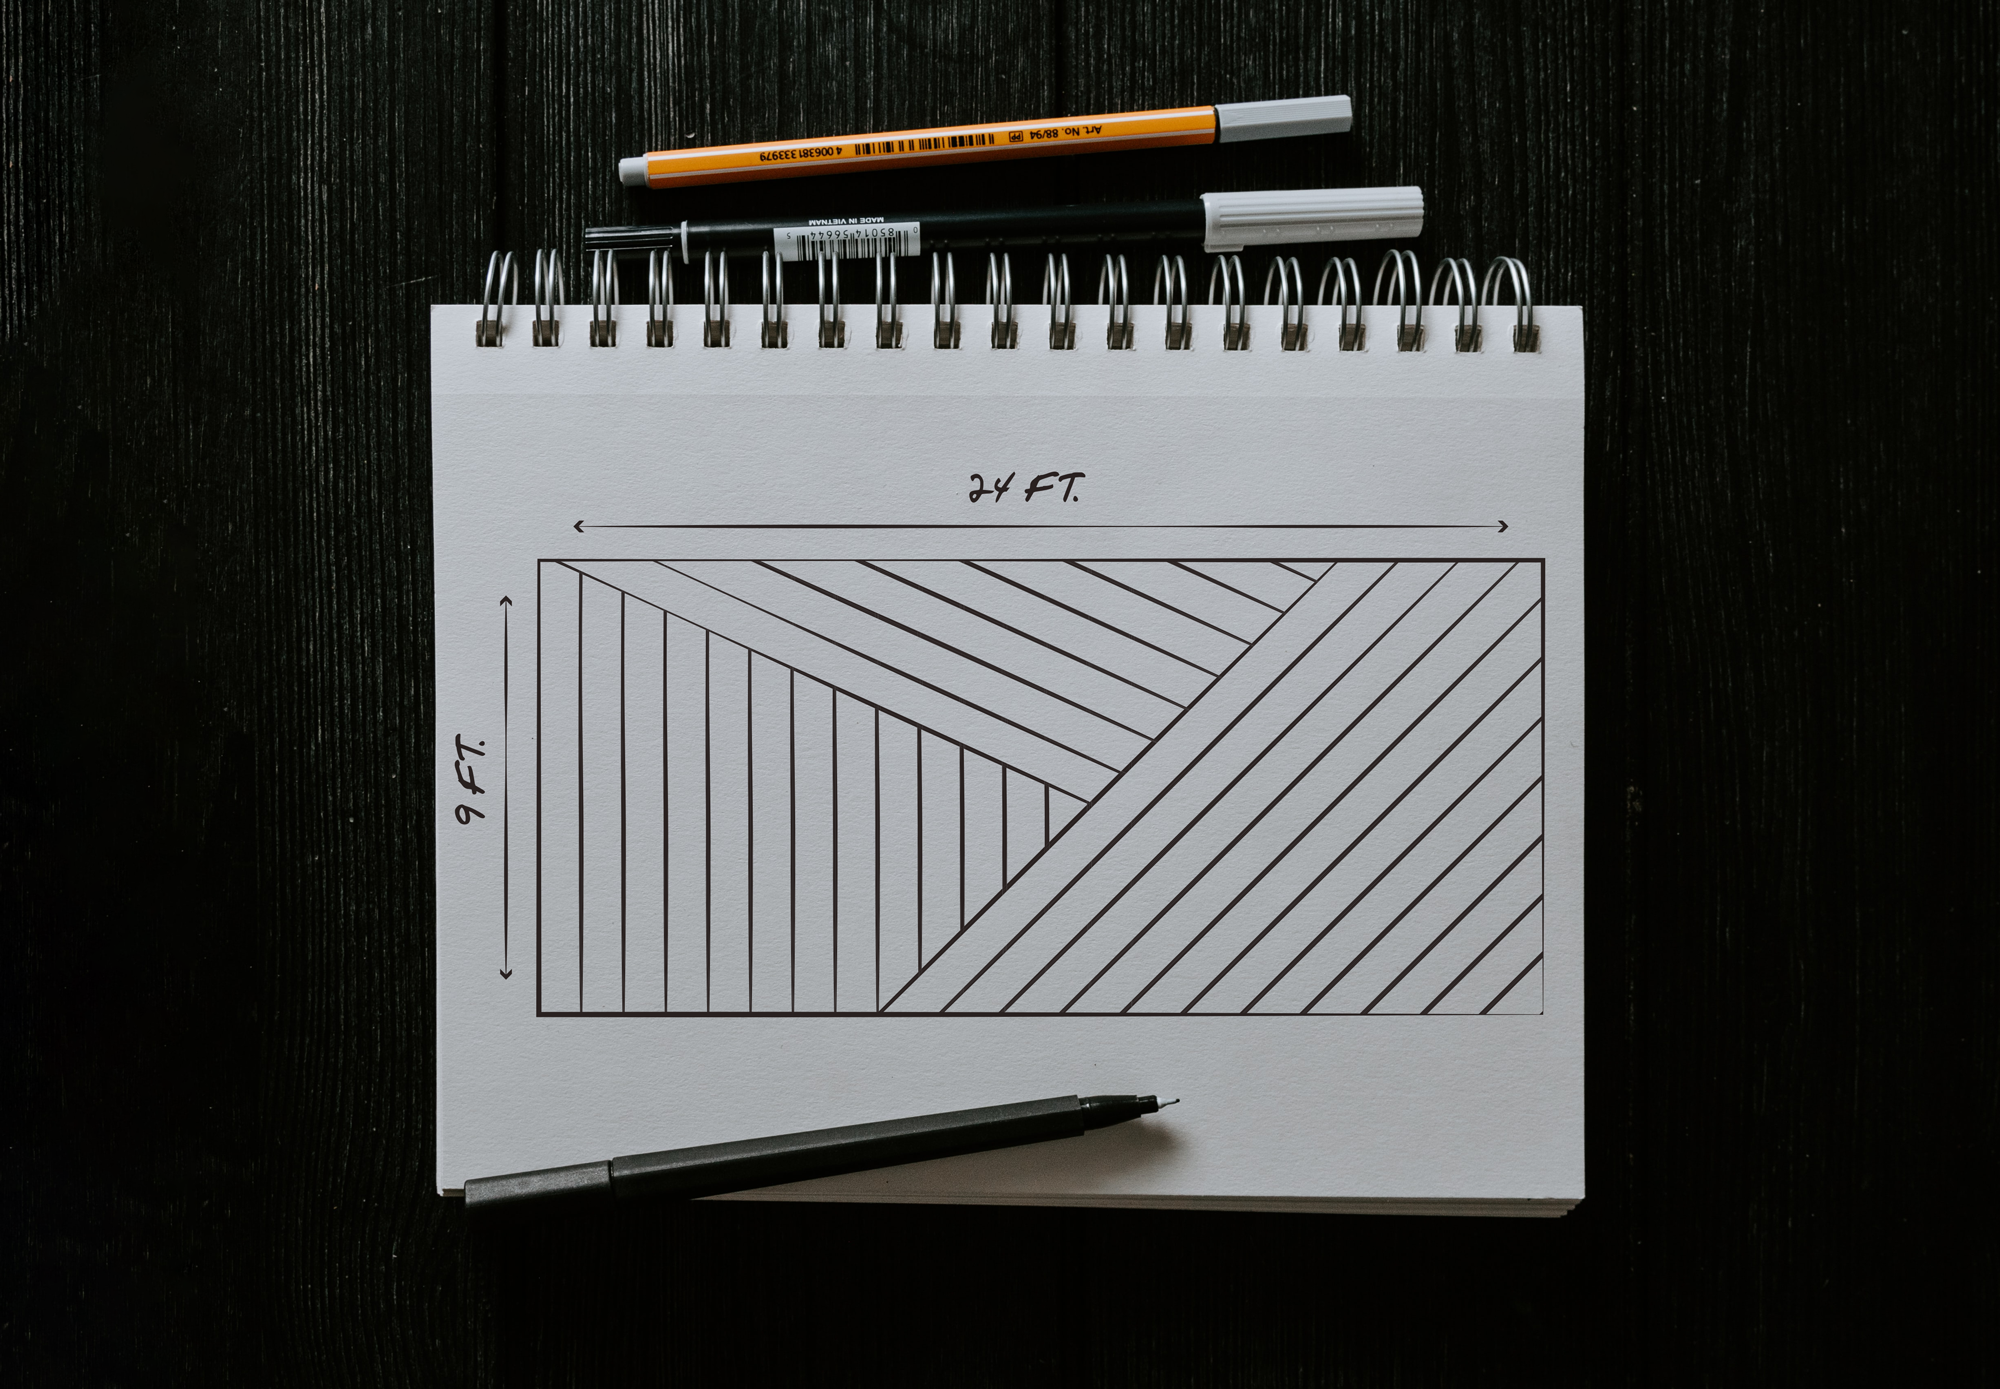
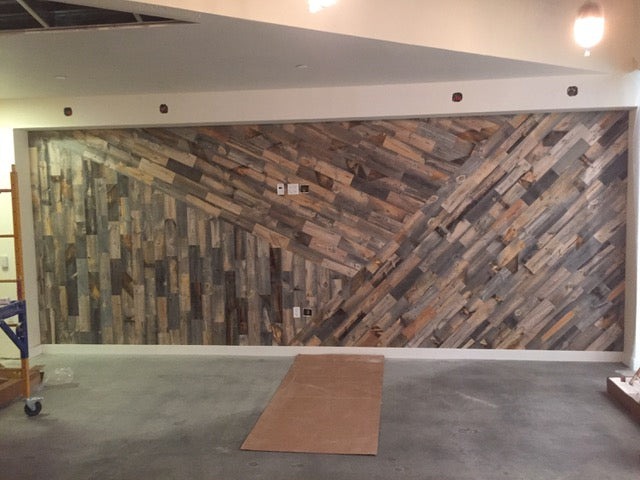
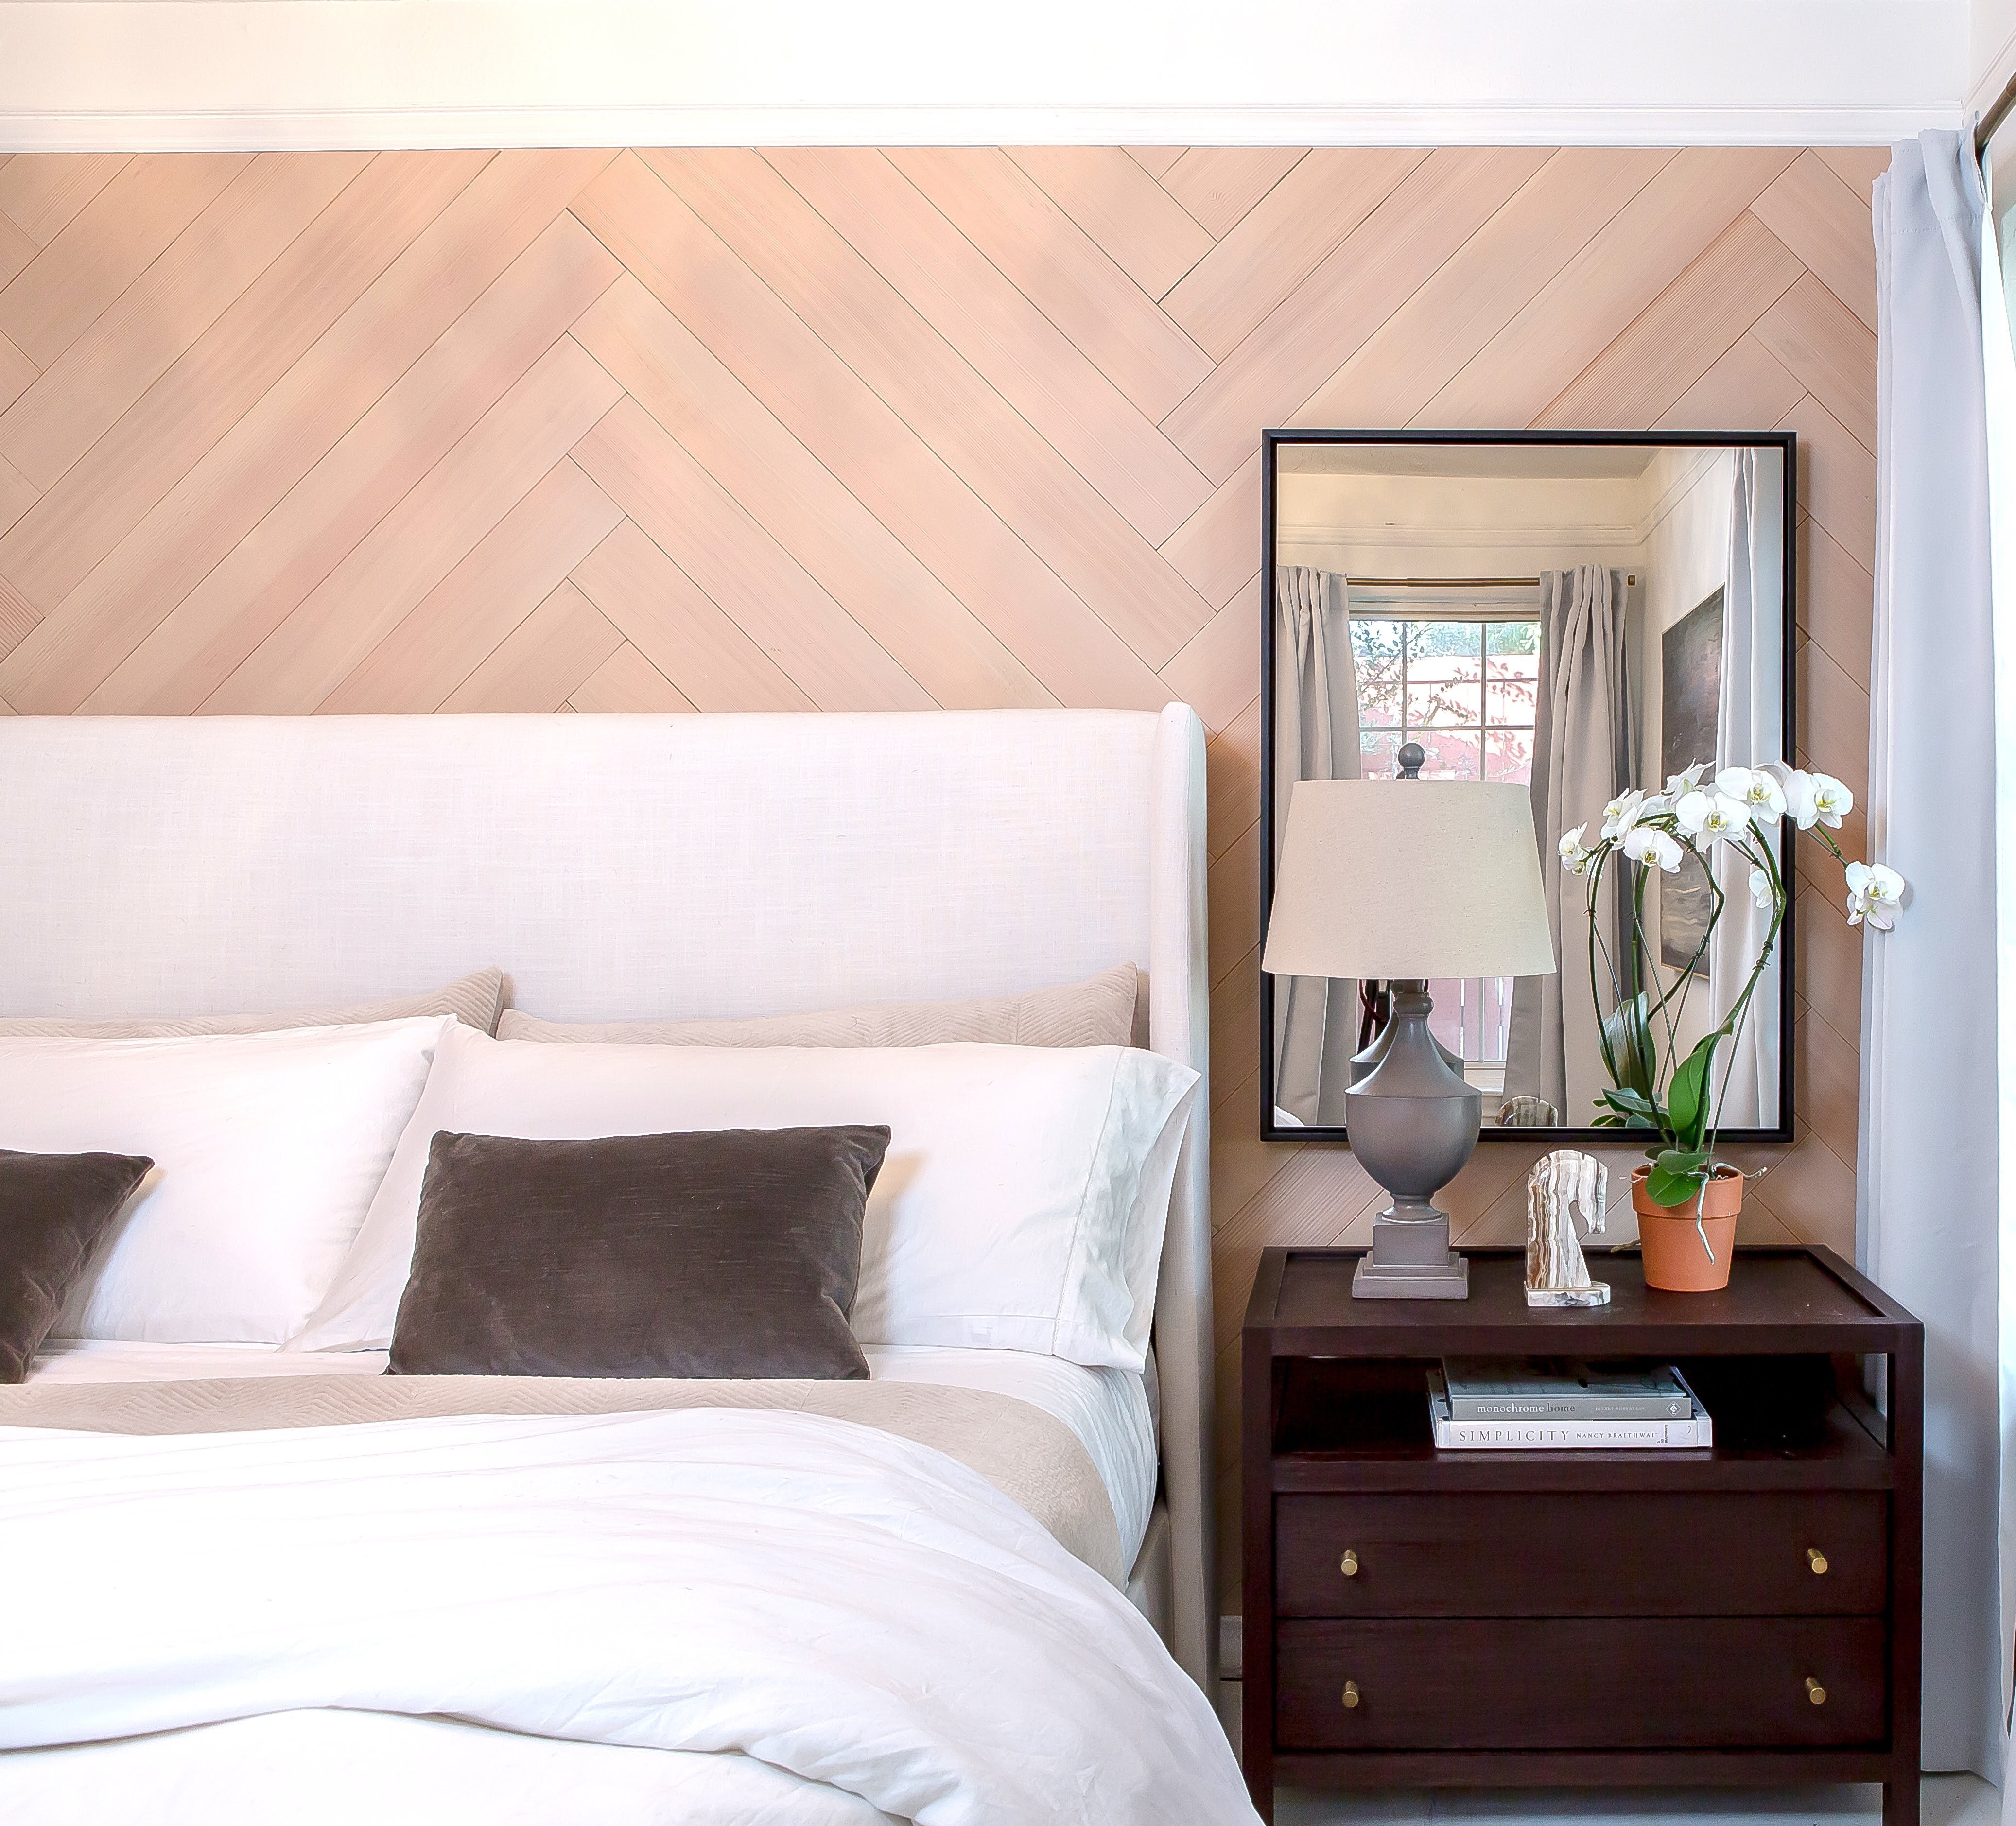
It’s best to start with a sketch of how you want your wall to look. Whether you’re creating a chevron, herringbone, diagonal pattern, or you want a more random approach to your design, it helps to see how it will look visually on a sketch pad first.
Once you’re happy with the look of your wall sketch, it’s time to start figuring out your measurements. To understand how much Stikwood you will need to cover your entire wall, you’ll need to determine the full area of your wall in square feet. Start by measuring the height and width of your wall in inches and multiplying them together. This gives you the area of your wall in square inches. Then, divide this result by 144 to get square feet.
It’s important to remember to add an additional 5% of overage to factor in any waste during the installation of your project. Stikwood is ordered in increments of 10 square feet, so for instance, if you need 54 square feet, you’ll want to round up to 60.
To help you better determine how much Stikwood you’ll need for your installation, watch this video:
Once you have your design sketched out and you know how you want your wall to look, it’s time to start setting your first wood planks. Regardless of the type of design you will be creating on your wall, you need to find the center of it. This is what we recommend for traditional horizontal or vertical installs as well. So, if you’re using a pattern with any sort of diagonal or angled design, you’ll want to find the center point of your wall and go off of that.
Once you have your center point figured out, you’ll want to make sure your planks are cut to a length that works for your design. If you are going for a more various and random approach, differing lengths of wood planks probably doesn’t matter much to you. However, if you’re going for a look that boasts clean lines and little to no variation or overlap, you might want all of your wood planks to be the same length.
Side note: Stikwood comes in various 1-4 foot lengths. If you don’t want different lengths in your wood planks, you can custom order them to be all the same length!
Here’s a quick video to show you how to cut your Stikwood:
Now that your design is sketched, you know how much to order, and you are familiar with how to cut your planks, you can begin installing! Using Stikwood really is as easy as 1, 2, 3. All you need to do is cut them to length, peel off the adhesive tape on the back, and stick them to your wall. Enjoy creating your own geometric accent wall the easy way!
Shop our entire collection of peel and stick wood planks here!

Join our newsletter to stay informed with new product releases, designer spotlights and promotions.
Your cart is currently empty.
Start Shopping
Introducing our easy-to-use visualizer tool that allows you to see every color and finish of Stikwood on your own walls, with the touch of a button.
