Pine vs Oak: Which Wood is Best for Your Home Improvement Project?
Ever stared at your shiplap wall, dreaming of what it would look like with just the right splash of color? Have you seen living spaces on HGTV transformed, and want a one-of-a-kind look yourself? Don’t worry; we have you (and your shiplap) covered.
With the right tools and how-to’s, anyone can paint shiplap. But what color looks best? How important is prepping shiplap planks before painting? And is it best to use a brush, a roller, or a sprayer?
We’ll touch on each of these areas. So instead of feeling overwhelmed or lost in a sea of possibilities, you’ll have what you need to give your shiplap the beauty it deserves.
If you love the contemporary farmhouse look like we do, you’ve probably seen your fair share of shiplap. But where exactly did this term come from?
At its core, shiplap refers to wooden boards that overlap slightly at the rabbet (a groove cut into the edge) so they fit together snugly. This creates a distinct shadow line between each board, giving it the farmhouse aesthetic we’ve come to love.
The term “shiplap” comes from… you guessed it: shipbuilding. Hundreds of years ago, sailors used this method to make their ships watertight. And though you won’t find shiplap on many ships today, its usefulness goes beyond aesthetic appeal.
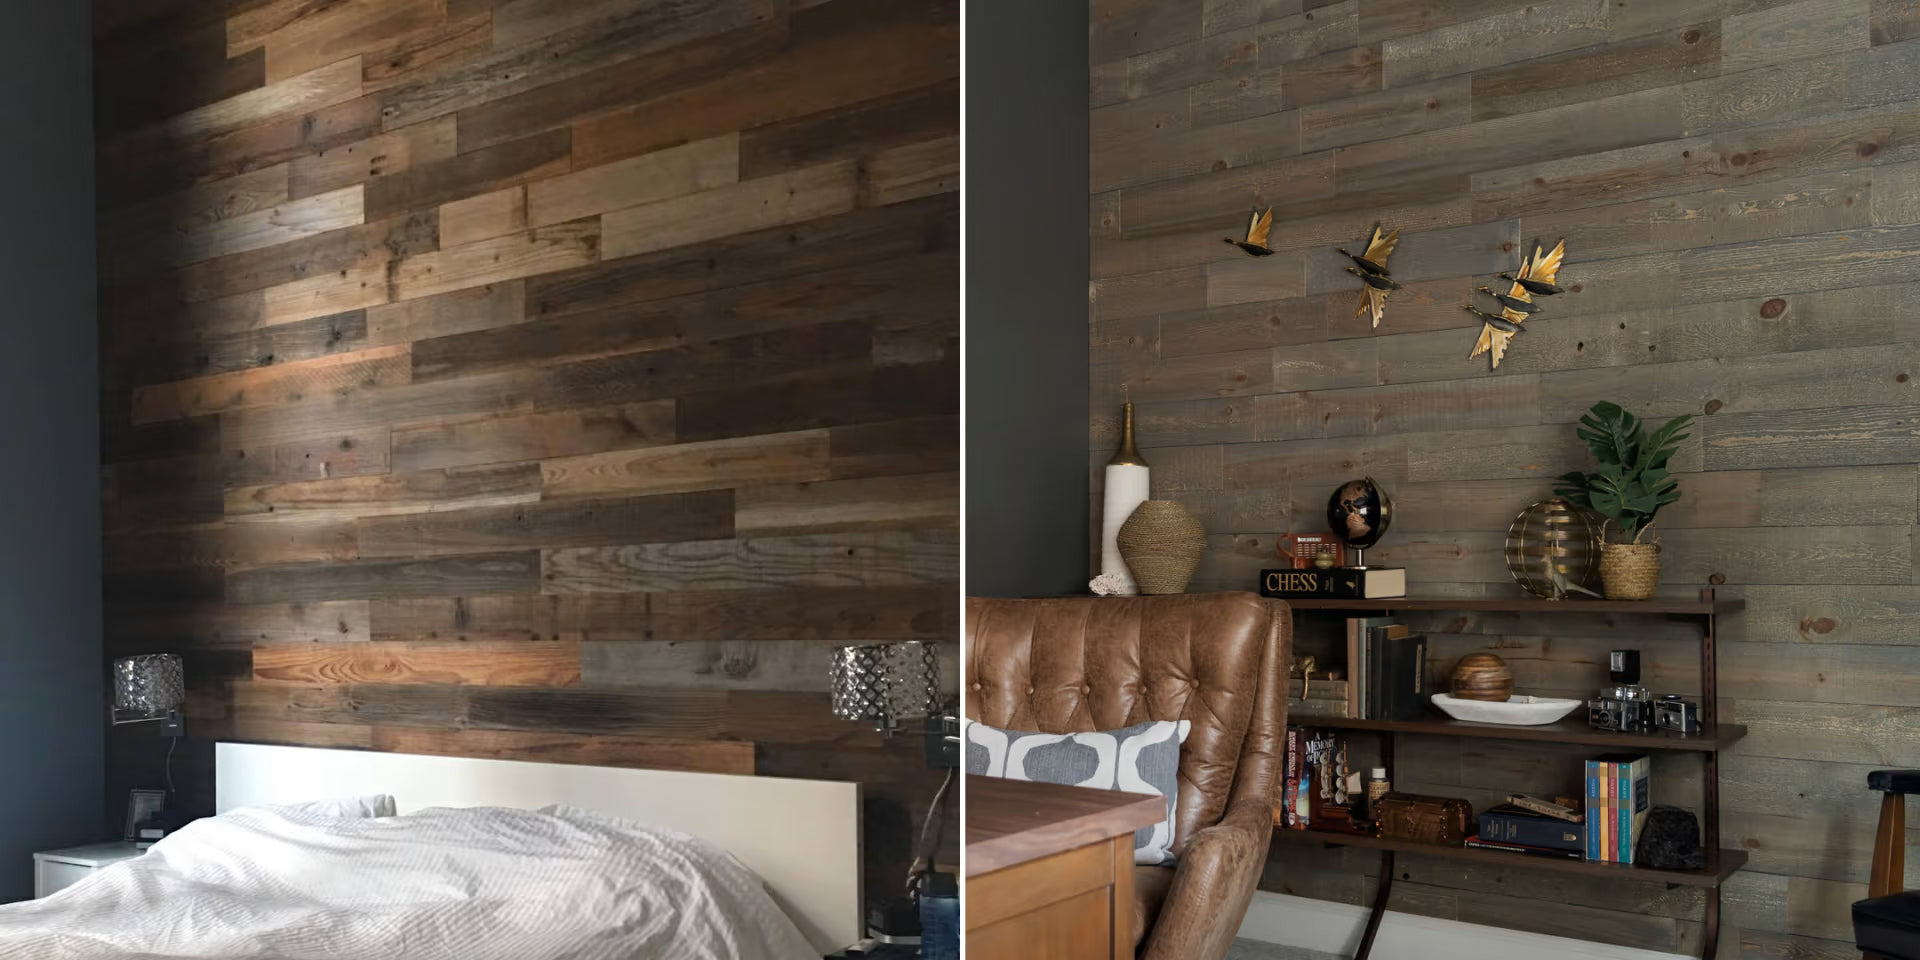
One of the advantages of shiplap is its versatility. Whether painted or left raw, these wood planks can transform just about any room in your home – be it a living room accent wall or even ceiling.
When installing shiplap planks, it’s important to measure out your area to get an idea of how many boards you’ll need.
Pro-tip: Keep in mind that while most traditional shiplap planks have a standard width of around 6 inches, newer versions come in varied widths. This adds creative flexibility, but can be a hassle if you aren’t expecting it!
Shiplap walls are typically installed from the bottom up, whereas ceilings usually start at one corner and work diagonally across. For a few ideas on how to install shiplap planks in your home, check out this blog post.
All said and done, installing shiplap can be a fun DIY project to transform any living space. And your shiplap planks don’t have to look drab either. In fact, painted shiplap is a great way to set your home apart.
Picking the perfect paint color for your shiplap planks isn’t always easy. But don’t worry! We’ve compiled some helpful tips to guide you through the process.
White is by far the most common paint color for shiplap planks. If you’re looking for a classic look, Benjamin Moore’s Simply White and Sherwin Williams’ Mindful Gray are great options. These shades give off a bright, pristine look that combos nicely with a variety of spaces. And since white and gray are fairly neutral, you’ll have more flexibility when it comes to decor and other design elements.
Sticking with a modern farmhouse style isn’t the only option for shiplap planks, though. Here are a few colors for a more unique look.
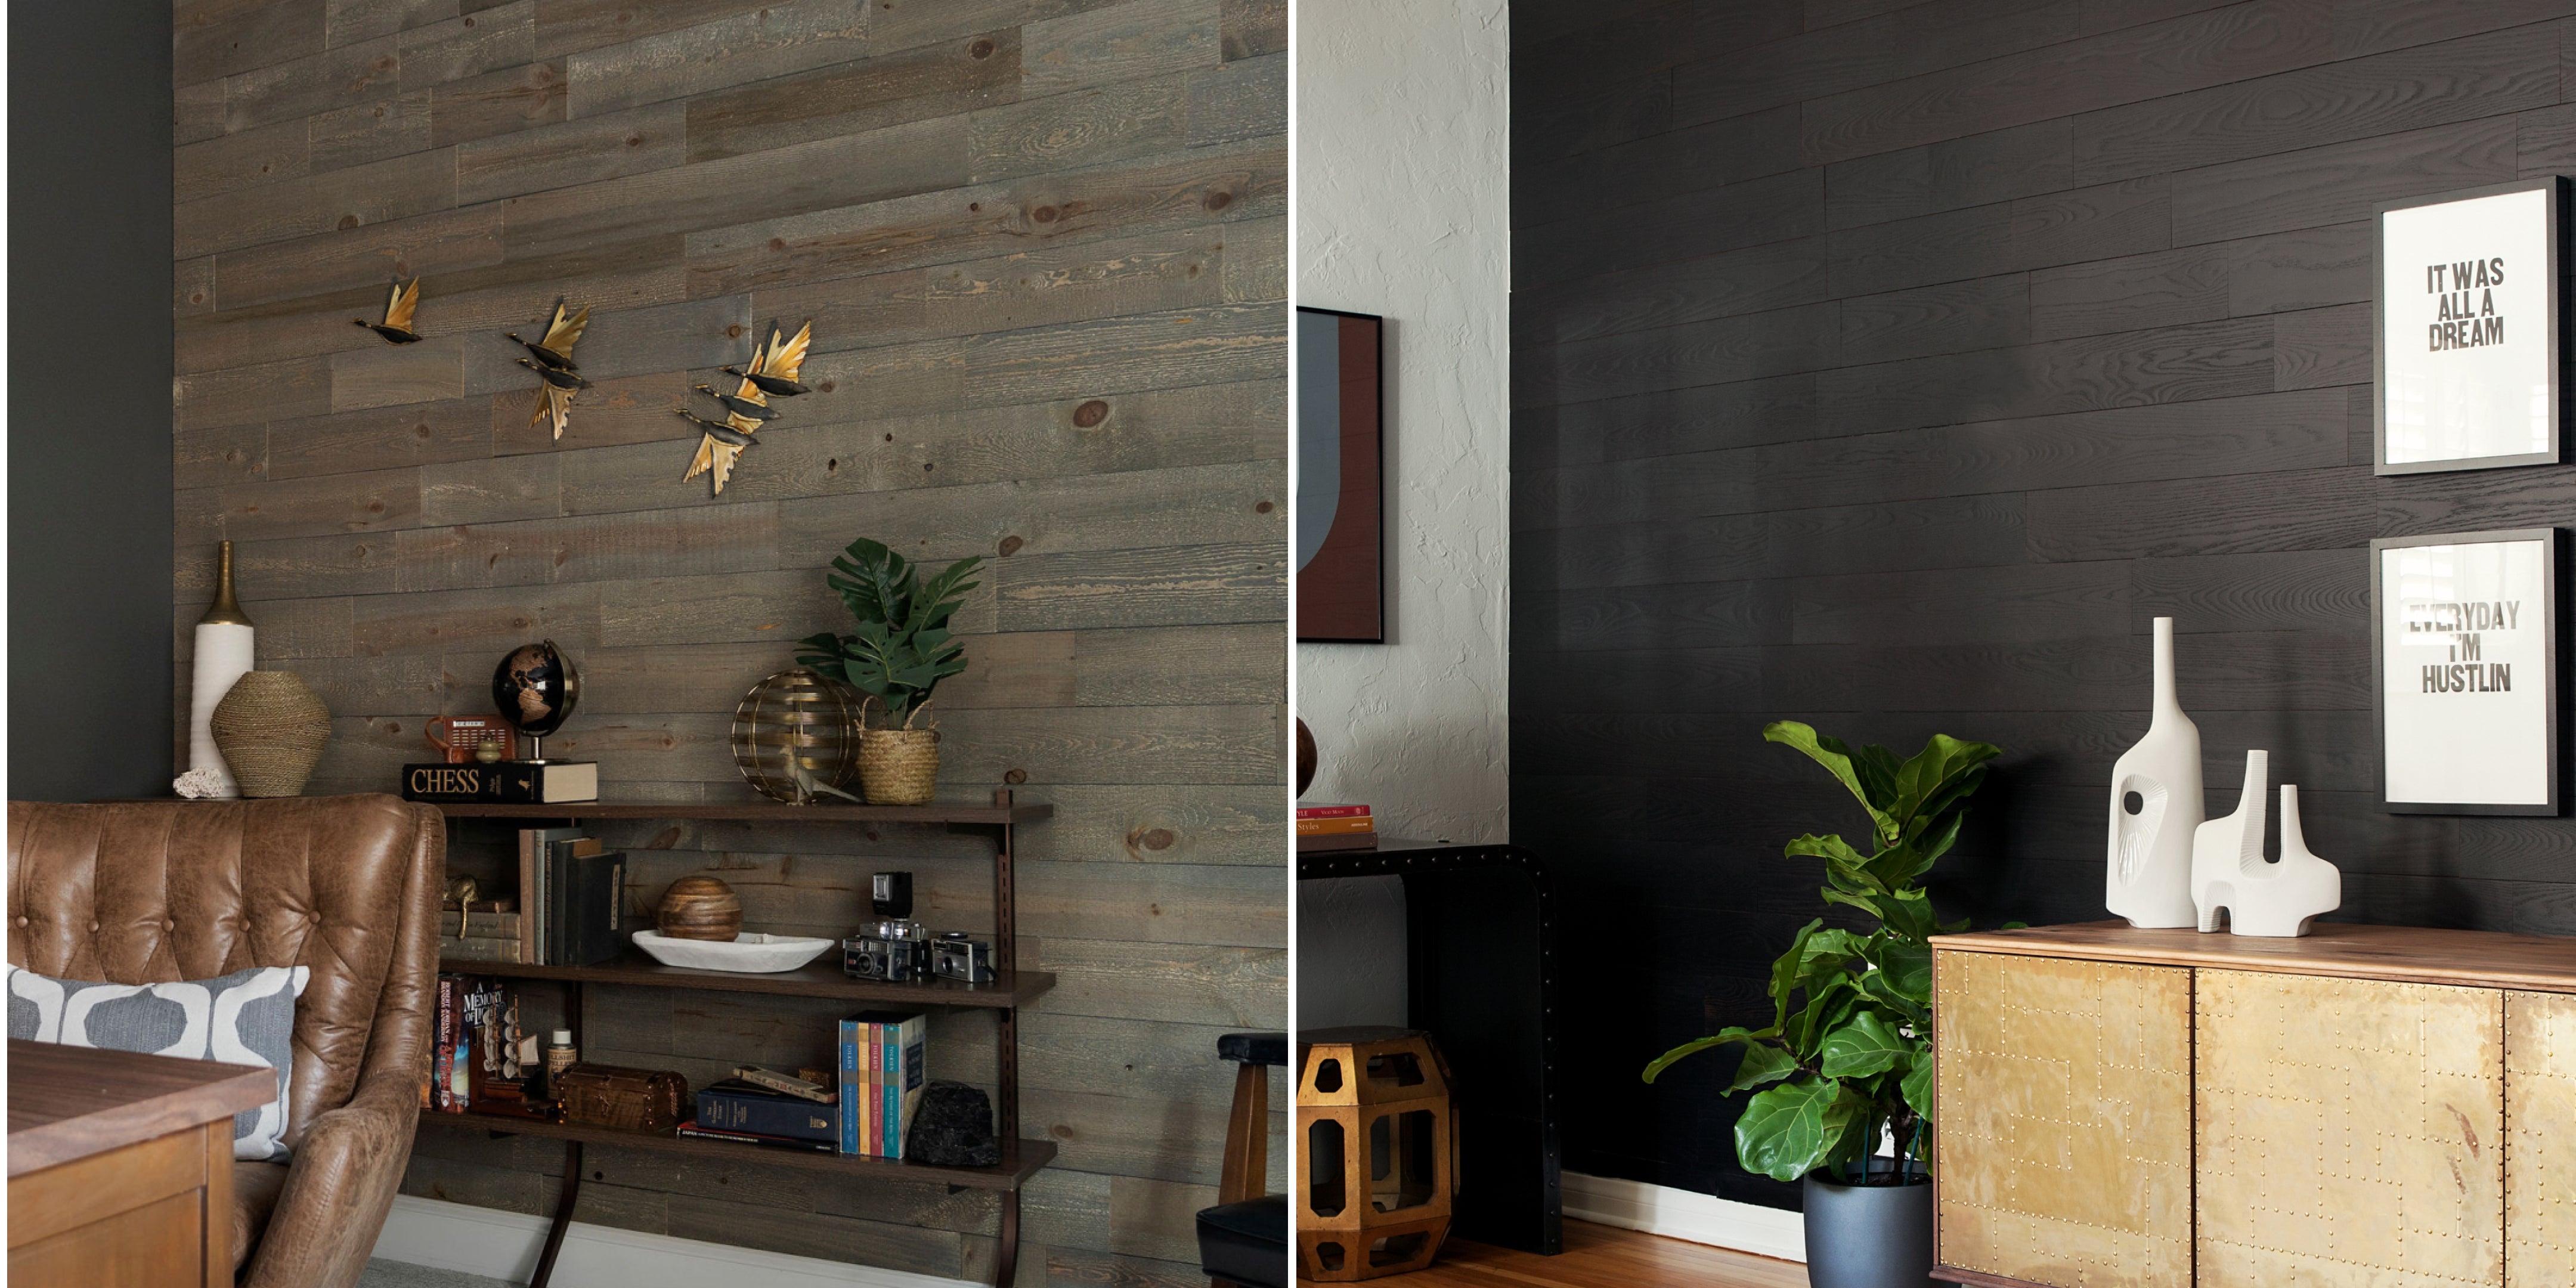
While lighter shades are popular when it comes to painting shiplap, you don’t have to shy away from bold. Darker tones like navy blue can make beautiful statement pieces on real wood shiplap walls. Sherwin Williams’ Naval paint blends cozy and classy vibes, giving a warm yet sophisticated feel.
If it feels like adding bold color to an entire room is too dramatic, consider adding a painted accent wall instead. This approach helps strike a balance between bolder paints without being overpowering.
Remember: When choosing the right paint color, don’t worry too much about what’s trending. Focus on what suits your personal style and the overall aesthetic of your home. You won’t regret it.
Whether you go bold or stick with a more traditional style, painted shiplap will add a measure of character you can enjoy for years to come. It’s all about finding the perfect shade that reflects your personality and complements existing design elements.
Painting shiplap is more than just picking a color. The sheen you choose plays a major role in the appearance and functionality of your planks.
In general, a flat or matte finish is often recommended for its ability to hide imperfections and give living spaces a rustic look. If your shiplap is in a high-traffic area, semi-gloss or satin sheens might be better suited – due to how easy they are to keep clean.
Matte sheen (also known as flat paint), offers virtually zero shine when dry. Instead of reflecting light, a matte sheen soaks it up. This helps mask minor wall blemishes, so it’s a great choice for areas you know will be prone to damage.
If your aim is to highlight the texture of real wood shiplap, you can’t go wrong with a matte sheen. Just remember: This type of paint isn’t known for being washable. It’s best to avoid using it in spaces where water or other liquids could be present.
Semi-gloss paints are more resilient than their flat paint counterparts, thanks to their higher resin content. This gives shiplap planks a hard finish that resists chipping and staining – making them great for busy areas like kitchens and bathrooms.
Semi-gloss and gloss paints are also more straightforward to clean. In most cases, a simple wipe with a damp rag will be enough to keep them looking their best. However, these sheens do tend to highlight imperfections due to their reflective nature.
And if you’re dealing with faux shiplap, or if your real shiplap planks aren’t in the best shape, it might be worth considering a satin sheen. Satin provides a balance of moderate reflectivity and decent durability – the best of both worlds.
When picking either matte or glossy for your shiplap paint job, remember it's not just about looks. Each finish has its own advantages and disadvantages, so consider both the visual impact and practical aspects.
The first step in achieving a beautiful shiplap finish is to gather all the needed tools. Just like prepping the ingredients for a favorite recipe, you don’t want to start without having everything on hand!
Some things you’ll need before starting:
Spackle is another essential tool when painting shiplap walls, since it helps fill in any nail holes or minor imperfections on raw wood surfaces. Caulk is useful for sealing cracks between boards, so you have an even canvas for painting.
If you’re tackling larger DIY projects such as accent walls or entire rooms, you might want to consider investing in a paint sprayer. Paint sprayers allow for faster, more uniform coverage of large areas and can reach into tricky shiplap cracks better than brushes and rollers.
To ensure a stunning paint job on your shiplap planks, it’s vital to prep the surface properly. This involves filling nail holes, covering minor imperfections, and adequately sanding the wood.
When you’re dealing with raw wood shiplap, the prepping process is even more vital. Cracks, nail holes, and other small imperfections become much more apparent after paint is added. That’s where preparation comes into play!
Filling nail holes ensures your painted walls will have a seamless, professional finish. Caulk and spackle are great options for this step. You’ll find a variety of them at local hardware stores, so look for the ones that best match your specific project.
After addressing any imperfections, use a palm sander with high-grit sandpaper to smooth out the wood planks. This ensures no texture from the underlying material will show through when painted over.
Remember: Not all tools are created equal. While many DIYers swear by manual sanding methods like palm sanders, others prefer the speed benefits that only come with power tools. Decide what’s best for you and what you’re most comfortable with.
Painting shiplap walls isn’t nearly as intimidating as it might seem. It just takes the right tools and a little research up-front.
The brush and roller painting method is the most common way to DIY paint shiplap. It simply involves using both a small brush and roller to get an even coat throughout the project.
To start, dip a paintbrush into your chosen paint. Apply paint evenly into the cracks of each board before tackling the face. This technique helps cover every nook and cranny, ensuring there won’t be any bare spots after application.
Next, pick up your roller. Painting with a roller after a brush helps not only to distribute new paint, but smooths out any excess paint that may have been left behind. Repeat this process until all your shiplap planks have been coated.
A few reminders when painting shiplap:
Although painting shiplap will take a little bit of time, the end result is more than worth the effort. With careful preparation and application of paint, your new shiplap walls will enhance the beauty of your living space for years to come.
You can use both. Start with a small brush to cover the gaps, then follow up with a roller for smooth coverage.
For raw wood, an acrylic latex paint is ideal because it's durable and flexible. This helps prevent cracks as your shiplap naturally expands and contracts.
The best method is using a narrow angled brush to reach into each groove, ensuring full coverage before rolling over the surface. And if you’re painting a larger area, consider using a paint sprayer for more uniform coverage.
Sanding your shiplap prior to painting creates a smoother finish, allowing every coat to go on evenly.
Painted shiplap adds unmatched character to living spaces. It’s not a difficult task, but following the steps outlined above is key to ensuring a project you can be proud of.
For ideas on how to install shiplap, check out our blog at Stikwood.com. And if you’d like an easy-to-install, affordable way to transform your living space, you can’t go wrong with our peel-and-stick planks!

Your cart is currently empty.
Start Shopping
Introducing our easy-to-use visualizer tool that allows you to see every color and finish of Stikwood on your own walls, with the touch of a button.