

5 Easy Peel and Stick Shiplap Designs That Will Impress
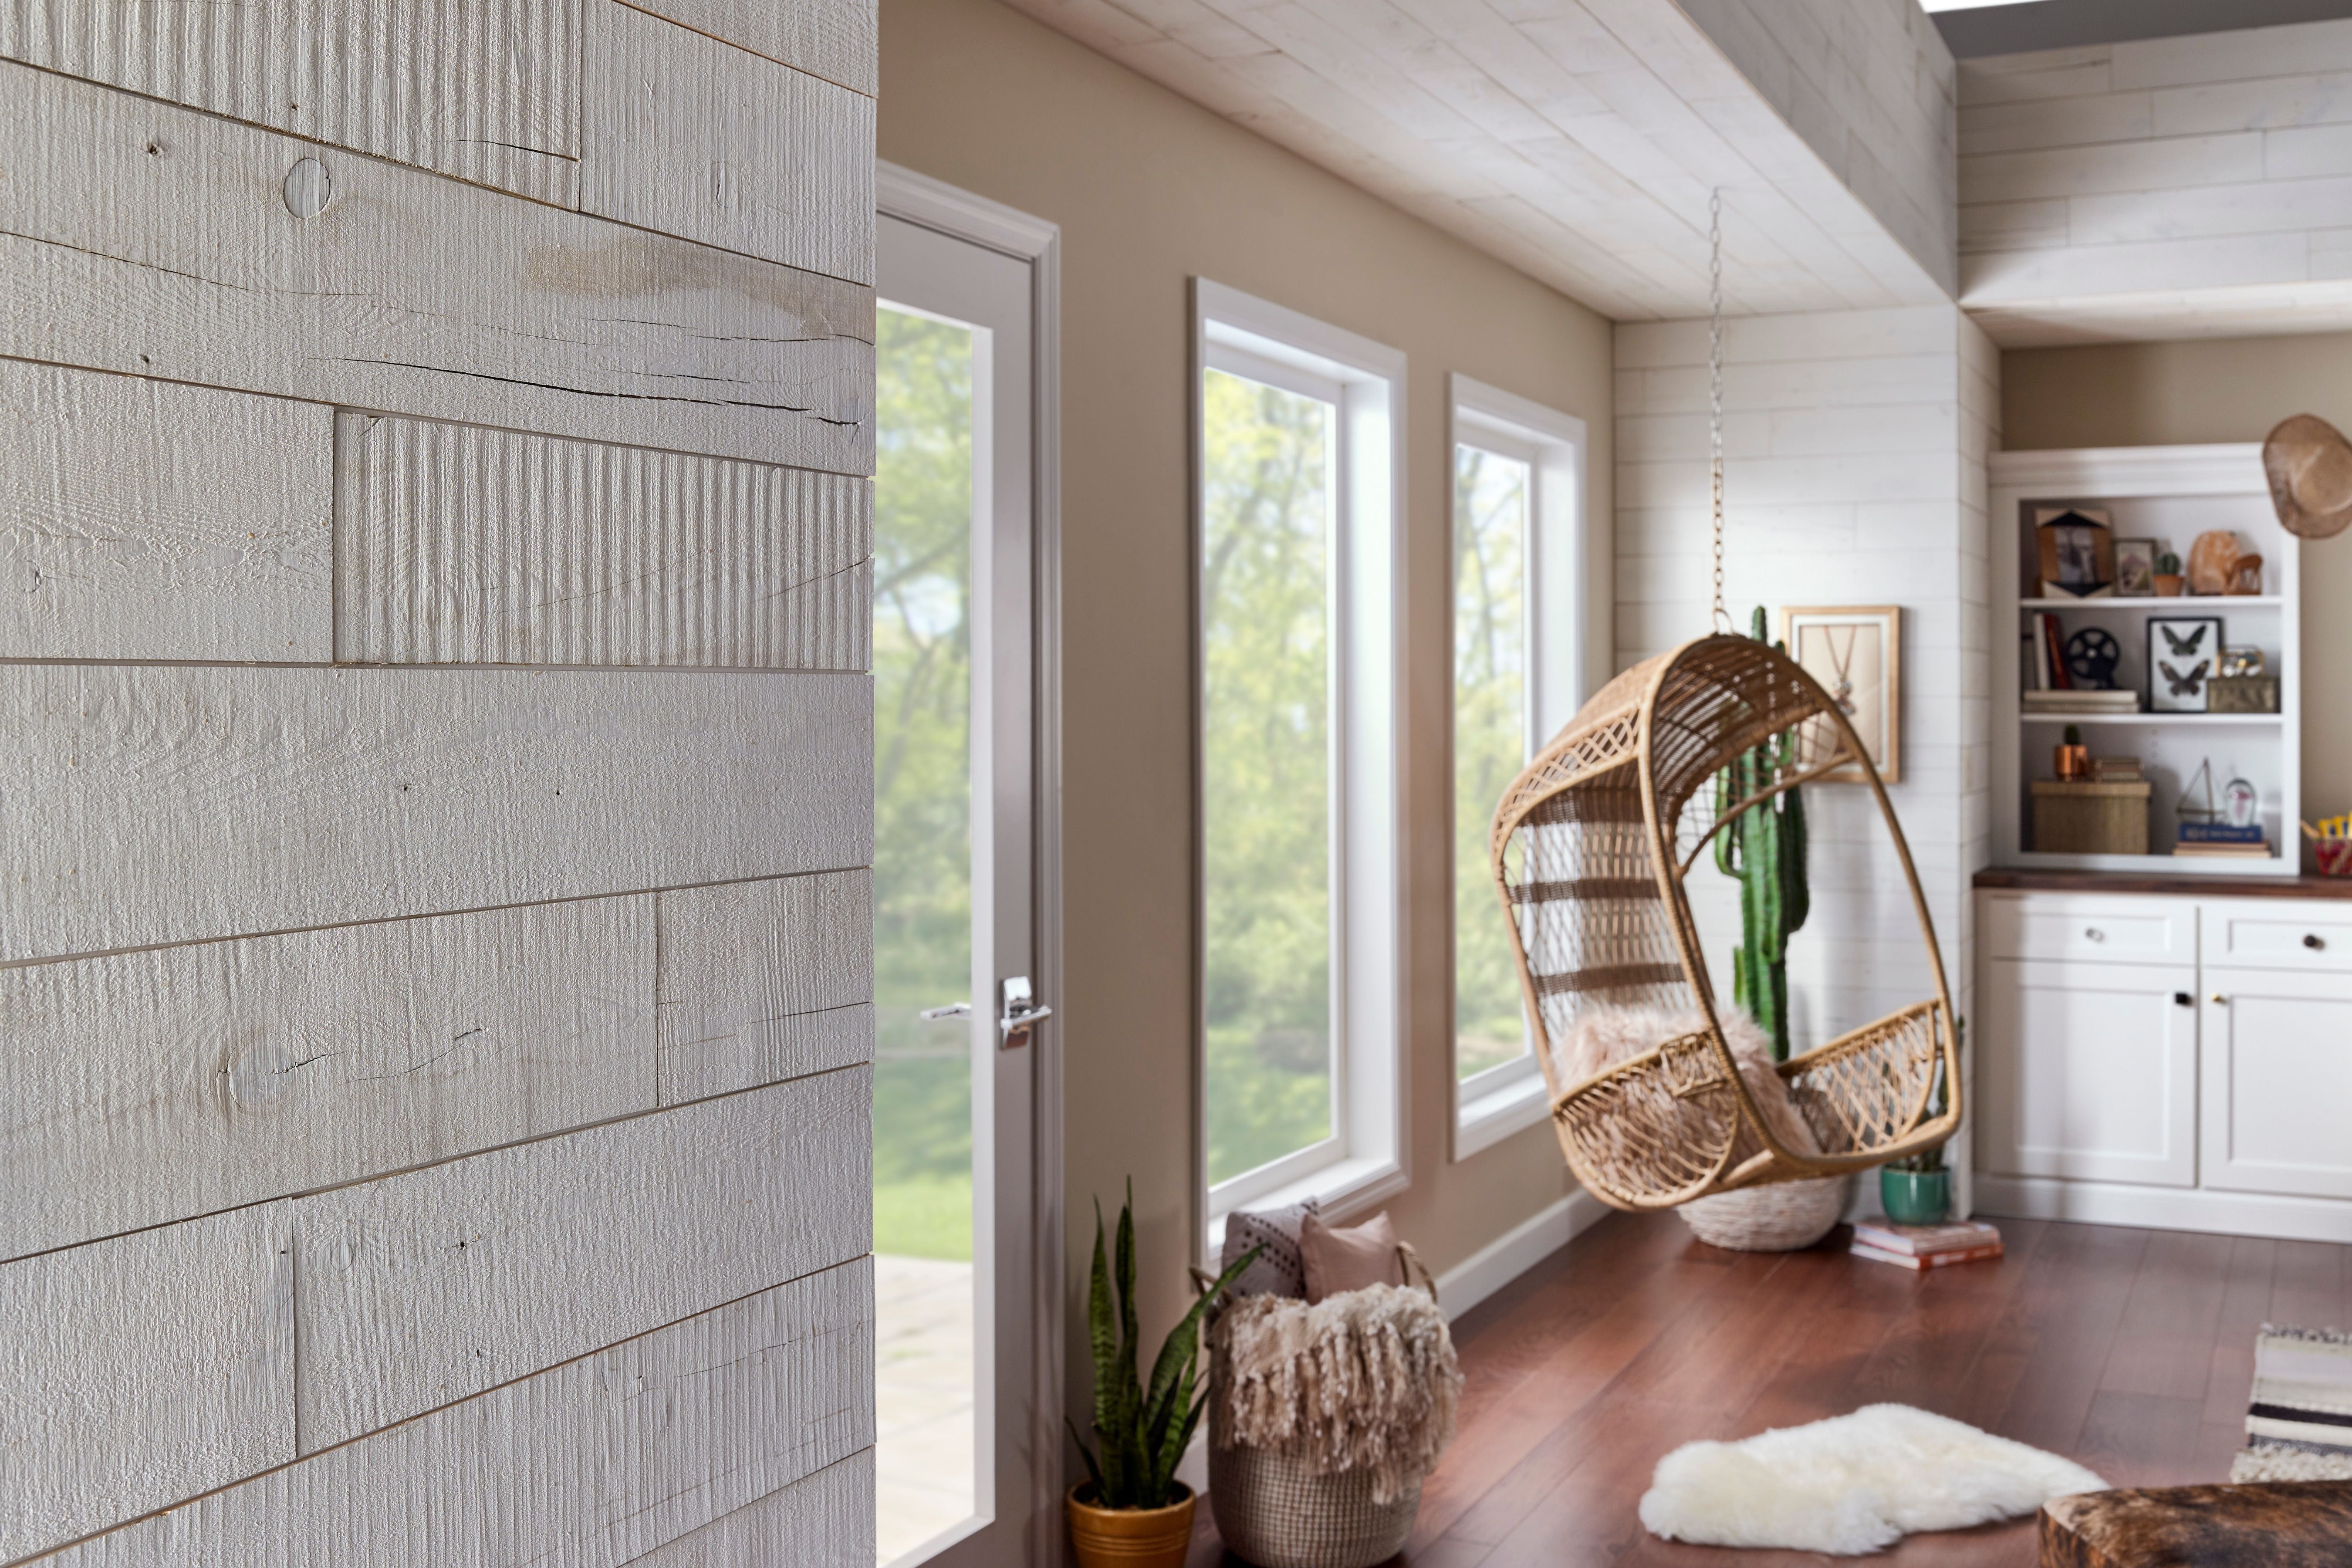
Shiplap panels are usually used for barns and sheds. While this may make them a strange choice for interior wall paneling, the panels feature sharp modern lines, making them ideal for those who want to achieve an up-to-date aesthetic. At the same time, these panels have a touch of the traditional.
The lines of shiplap panels offer an orderly shape to your wall panels, and you can stagger them for more variety. Plus, you can paint or stain the wood to achieve any look you have in mind. The only real challenge you face lies in finishing the panel edges. Without an appropriate finish, shiplap panels are prone to rotting or warping. That’s especially the case for shiplap in kitchens or bathrooms.
You need to know how to finish shiplap edges. This article presents several techniques that do the job.
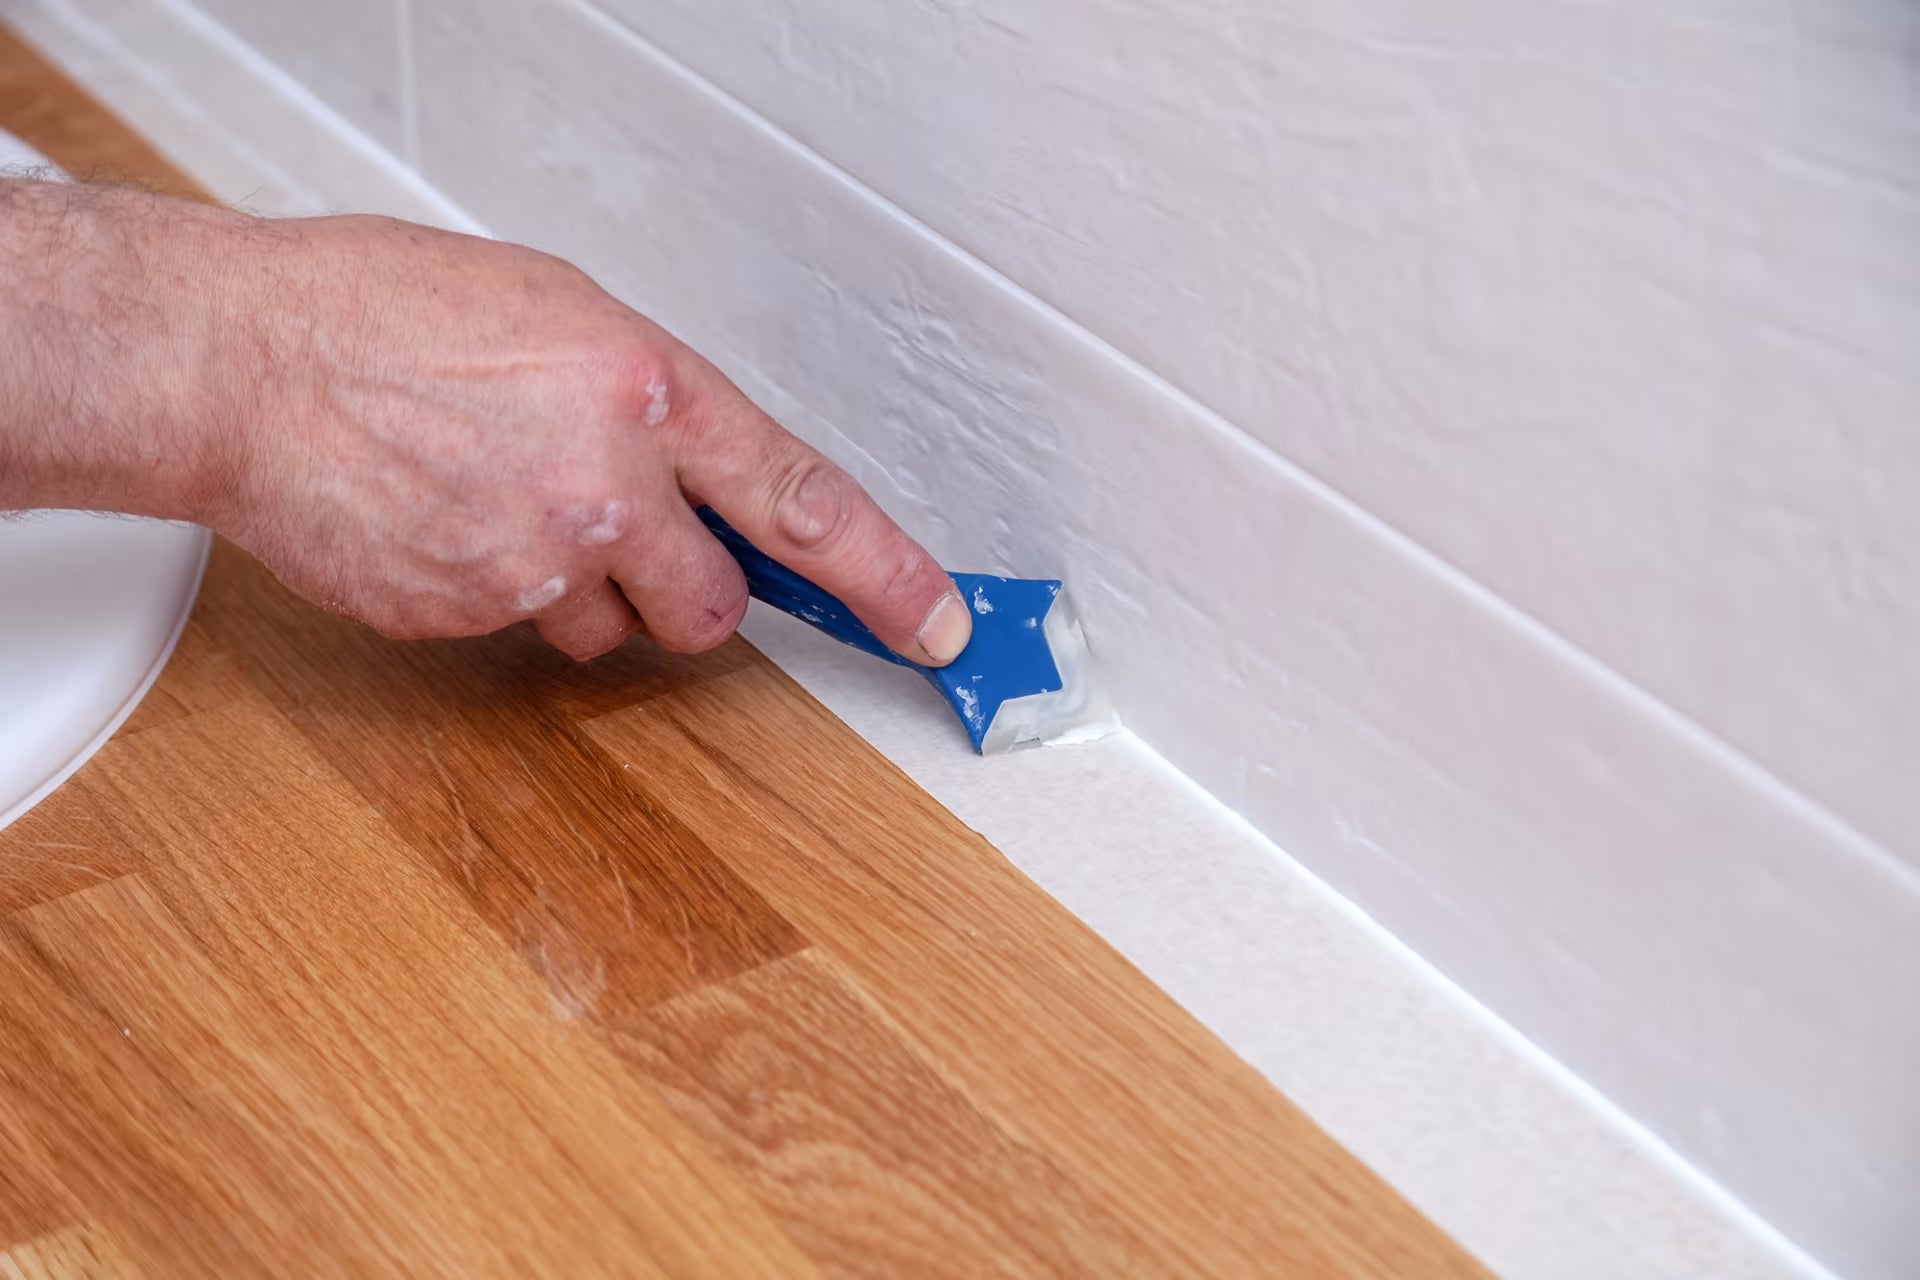
If you want to use shiplap to create a seamless look, caulk is your best option. Caulk is a material many people use to seal joints and cover up nail holes. In the case of shiplap, caulk gives your boards’ edges some nice and clean lines.
You should finish your shiplap edges with caulk before painting the panels. Follow these steps to caulk your shiplap seams.
Step 1:
Step 2:
Step 3:
Step 4:
Trim is an excellent way to finish shiplap edges. It allows you to cover any gaps left behind by the installation and offers a polished look that’s ideal for accent walls. You may apply caulk before applying trim, though it’s not required.
Quarter-round molding is one of the best materials to finish internal shiplap corners. It provides a polished and professional finish that rounds out the installation perfectly. These are the steps to follow when using quarter-round to trim out shiplap.
Step 1:
Step 2:
Step 3:
Step 4:

Using corner molding generally requires you to follow the same steps you use when fitting trim to your shiplap edges. You’ll use a pre-assembled corner trim or a pair of matching strips of 1 x 4-inch trim to create the corner molding.
In this scenario, the shiplap boards butt up against an interior wall corner. As the steps are mostly the same as installing a regular trim, we’ll recite them quickly here, and you can refer to the above for more details:
At Stikwood, we offer various corner trim options that offer the perfect finish to the edges of our peel-and-stick shiplap boards. Made using the same materials as our peel-and-stick planks, these corner moldings create a near-seamless finish.
Butt joints are wood joints you can use to connect two pieces of wood at a 90-degree angle. This technique creates a solid connection between the wooden panels. However, butt joints aren’t particularly strong.
The following are the steps to follow when creating a butt joint:
Step 1:
Step 2:
Step 3:
Step 4:
Step 5:
You can install shiplap panels in a room that has tile, such as a bathroom. In these cases, you can finish the edges with a small quarter-round, which creates a decorative separation between the tile and shiplap. Follow the steps in the “trim out” section for how to trim out the shiplap to achieve this finish.
Caulk is also an option. However, shiplap tends to jut further out than the tile, meaning you’ll end up with a heavy caulk finish that may not look attractive.
Corner trim is your best choice if you have shiplap that butts against the edge of a corner that turns into a different room. This trim finishes the edge and conceals any gaps, ensuring a nice transition into the next room. Stikwood offers several corner trim options in a wide range of styles and colors.
The corner angle is your key concern. Though it may seem like all room corners are at an exact 90-degree angle, that isn’t always the case. Measure the corner angle before purchasing corner trim to ensure you buy trim that offers the correct angle. Assuming you’ve measured the angle correctly, follow these steps to install your corner trim.
Step 1:
Step 2:
Step 3:
Step 4:
Step 5:
You have several options for finishing the edges of shiplap panels, meaning personal preference plays a role. Butt joints create the cleanest seams and require no trim, though they’re more difficult to create and reinforce.
Quarter molding offers an attractive trim, though you may find a simple caulk finish does the job with far less work. Internal corners are best finished with butt joints or corner molding, with exterior corners requiring a special type of corner trim.
Whatever your choice may be, take care when measuring your trim. You don’t want any unsightly gaps that force you to cut more trim, leaving seams between the trim pieces. The steps provided in this article should help you to DIY shiplap edge finishes in whatever style you prefer. Alternatively, you can use Stikwood’s simple, pre-assembled corner trims to achieve a beautiful finish with easy installation.

Join our newsletter to stay informed with new product releases, designer spotlights and promotions.
Your cart is currently empty.
Start Shopping
Introducing our easy-to-use visualizer tool that allows you to see every color and finish of Stikwood on your own walls, with the touch of a button.
