Reclaimed wood paneling can instantly transform drab interiors. But whether that transformation inspires wonder or woe in your visitors will depend on the approach you take when preparing the wood plank installation project. In this article you’ll learn what measures you can take to guarantee project success and the missteps to avoid when installing Stikwood peel and stick wood planks.
Do acclimate the wood
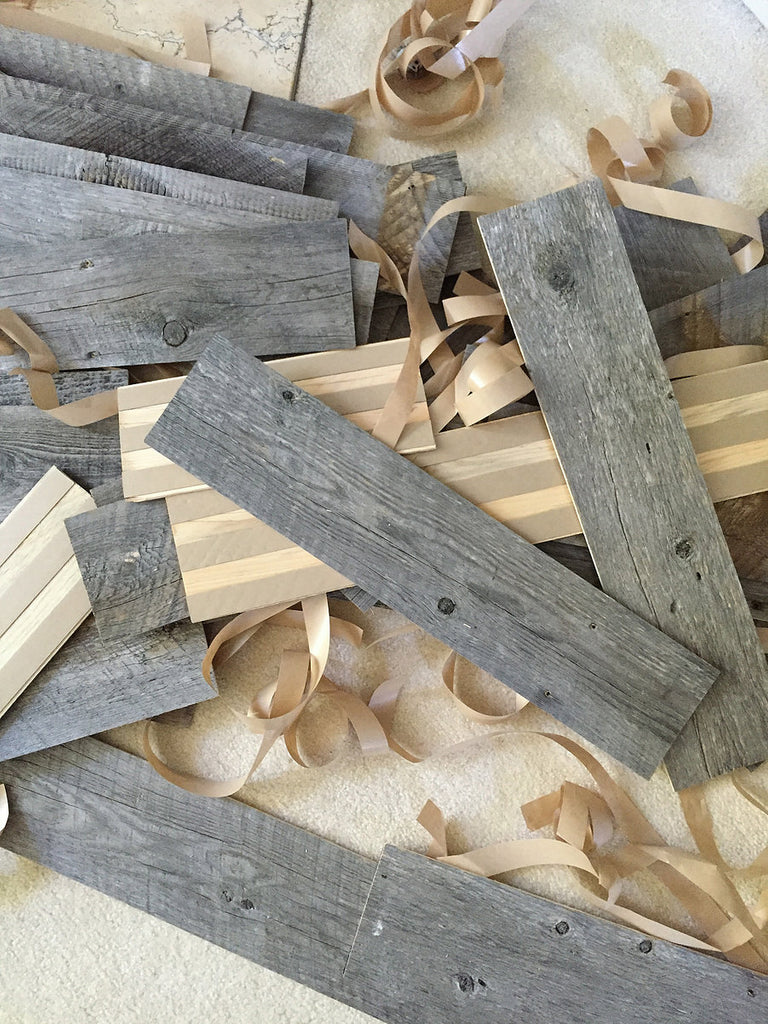
Accli-what? Acclimating wood, which requires opening it up in the space in which you will later install wood paneling, is a necessary step of any peel and stick wood plank installation. It allows the wood to reach an equilibrium moisture level at which your peel and stick wood planks will neither expand nor shrink with changes in relative humidity (RH) in the surrounding air.
Wood, being a hygroscopic material, will otherwise gain moisture and expand when the RH of surrounding air increases and will lose moisture and contract when RH decreases. The optimal amount of time to acclimate Stikwood peel and stick style wood planks is between 48 and 72 hours before installation, but high-humidity areas may need two extra days to acclimate.
Don’t install wood in spaces or on surfaces with excessive moisture
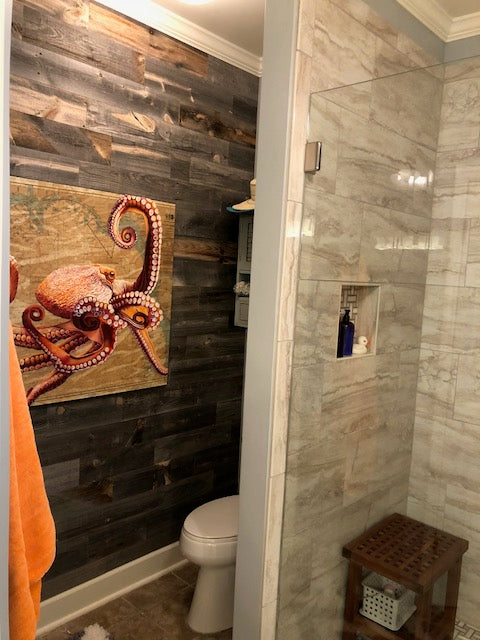
Photo Credit: Mimi & Larry Amerson
While kitchens, mud rooms, bedrooms, living rooms, and even bathrooms are fair game for a Stikwood peel and stick style installation, interiors with poor ventilation, leaks, or other problems that lead to excessive moisture in the surrounding air or on the underlying surface are poor candidates for receiving peel and stick wood decor.
As a rule, you should only install Stikwood peel and stick wood paneling in a room with between 30 and 65 percent RH, as measured with a hygrometer, and on a dry, primed surface with a moisture reading of less than 8 percent on an LCD moisture meter to avoid moisture-related expansion or shrinking of the wood.
Do clear and clean the surface first.
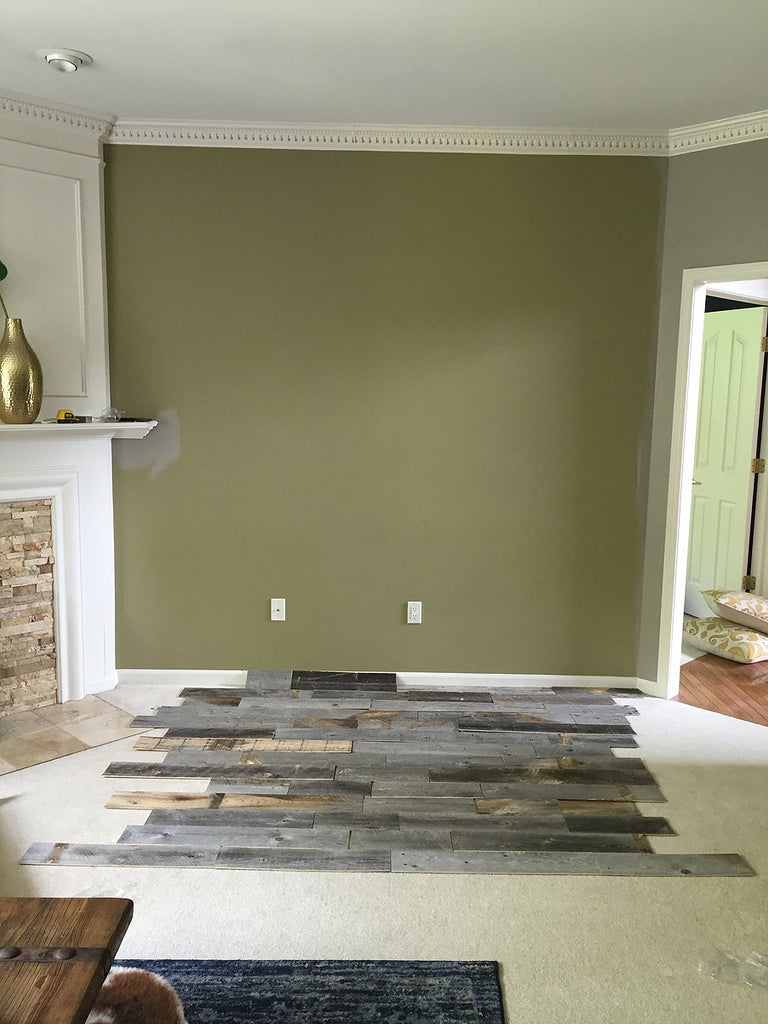
Photo Credit: Hannen’s Haven
Whether your Stikwood peel and stick installation will live on a wall, a ceiling, a fireplace surround, or even a single column, start with a blank slate by detaching any artworks, decor, and outlet or lightswitch coverings from it and then removing any nearby staples or nails with the claw of a hammer. Then, dry-wipe the surface with a soft cloth to eliminate dust and debris. A clear and clean flat surface is a must to ensure optimal adhesion of the Stikwood peel and stick planks.
Don’t assume baseboards or ceilings are level.
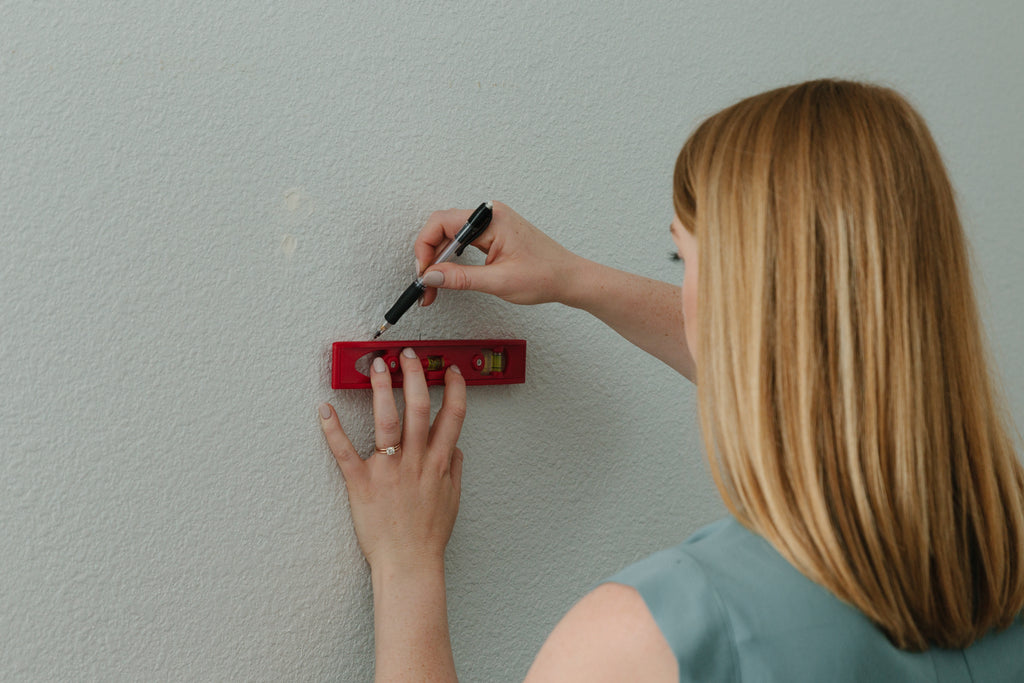
Even eagle eyes can’t be trusted to assess whether or not floor baseboards or ceilings in a room are perfectly level. If your floor isn’t level or your ceiling sags, and you rely on either as a reference line when installing Stikwood peel and stick paneling, you could wind up with a wonky peel and stick wood wall installation. Always use a 24-inch level to check that baseboards and ceilings are perfectly level. If they’re not, measure 15 to 20 inches down the wall from the ceiling and make a pencil mark. Then, use a chalk line to snap a level line across the wall that you can use as a reference when installing stick-on reclaimed wood planks.
Do work on one row at a time.
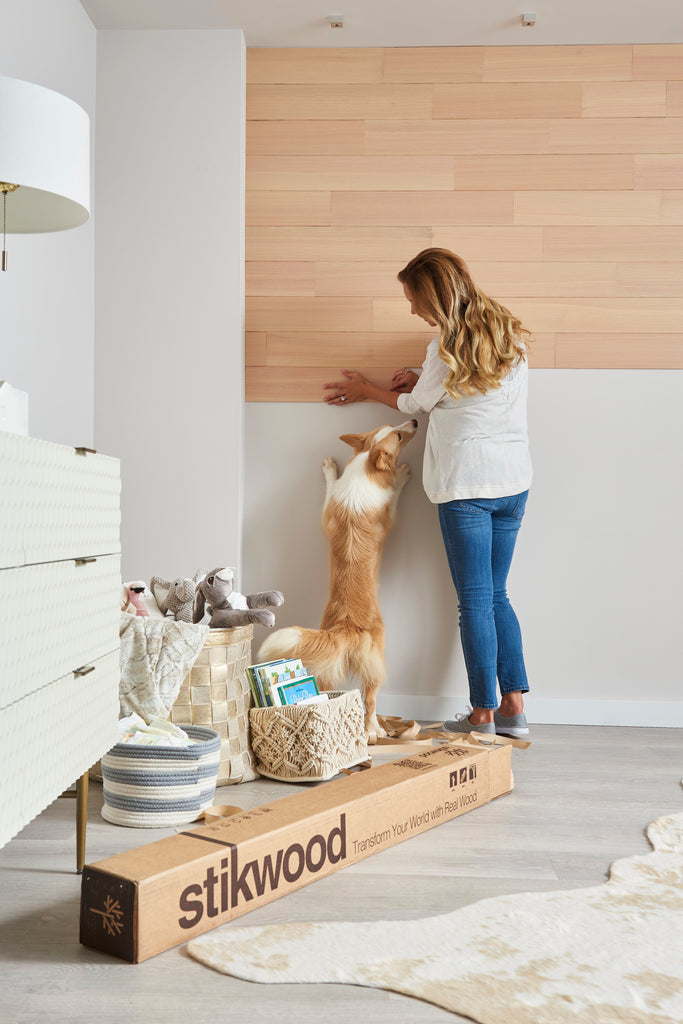
Installing a single row of reclaimed wood planks at a time allows you to maintain level rows and a cohesive overall plank layout, be it horizontal, vertical, a classic pattern such as herringbone or chevron, or a custom motif. Whether you started your Stikwood peel and stick installation from the baseboards or the ceiling, you may need to rip the boards that will make up the final row with a jigsaw or hand saw in order to fit them into the remaining surface space.
Pick up a reclaimed wood sample set to put these do’s and don’ts to work on your first interior wood decor project.


